Understanding Wood Stain: Types and Applications
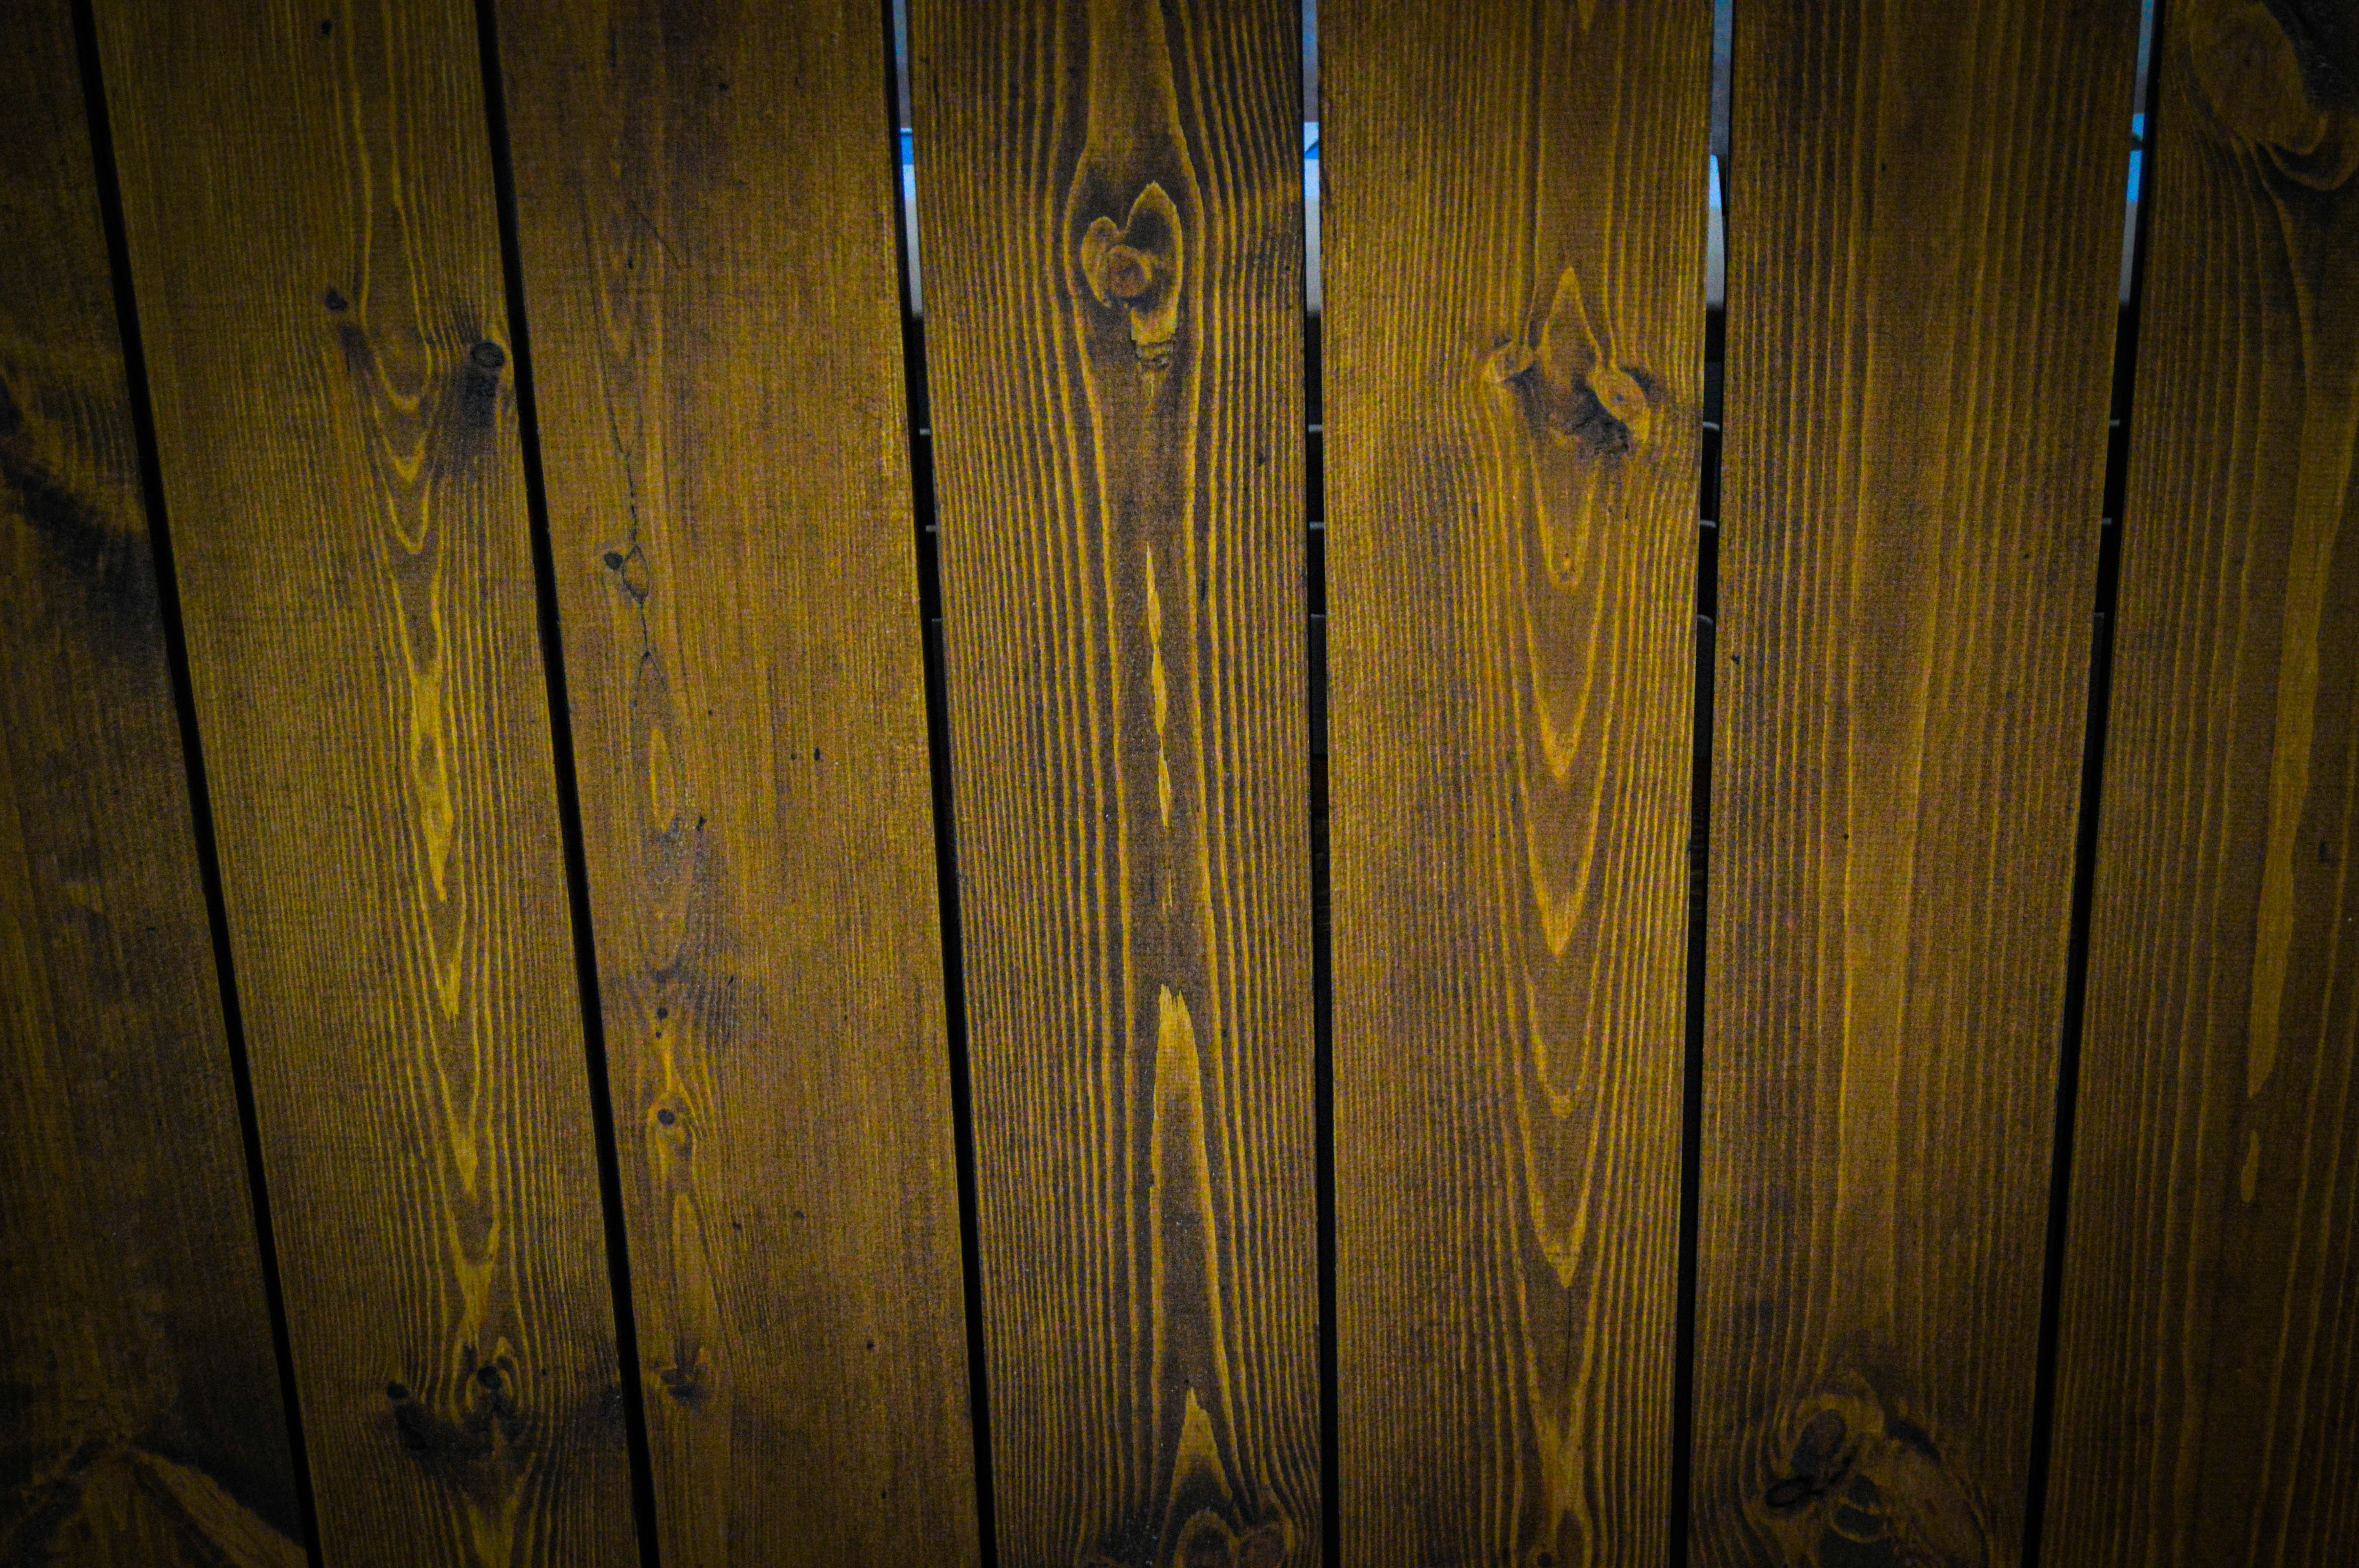
Wood stain is an essential element in enhancing the beauty of wood surfaces, providing both aesthetic appeal and protection. There are three primary types of wood stains: oil-based, water-based, and gel stains. Each type exhibits distinct characteristics that influence their application methods, drying times, and final outcomes.
Oil-based stains are known for their deep penetration and rich colors. They typically have a longer drying time, which can be advantageous as it allows for more working time to achieve an even finish. However, due to their strong fumes, proper ventilation is crucial during application. Oil-based stains are particularly effective on hardwoods and can enhance the wood grain beautifully, making them suitable for furniture, cabinetry, and exterior projects.
Water-based stains have gained popularity due to their low odor and quick drying times. They are easy to clean up with soap and water and are less harmful to the environment compared to oil-based products. Although they may not penetrate as deeply as oil stains, they offer a wide range of colors and are ideal for projects requiring a fast turnaround. Water-based stains work well on softwoods, and they can be used for indoor applications like trim and siding.
Gel stains are a unique option that combines the benefits of both oil and water-based products. Their thickened consistency allows for control during application, making them excellent for vertical surfaces or challenging wood types, such as pine. Gel stains can provide a rich, uniform finish and are ideal for those looking to achieve a specific color without extensive color variation between different wood grains.
Selecting the appropriate stain for your project requires careful consideration of the wood type, desired finish, and application method. Whether it be oil-based for a classic look, quick-drying water-based for time efficiency, or gel stains for control and uniformity, understanding the different types of wood stains can lead to successful woodworking results.
Preparation: The Key to Successful Staining
Preparation is a critical step in ensuring a successful wood stain application. Proper preparation not only enhances the appearance of the finished project but also extends the longevity of the wood material. Before applying stain, it is essential to thoroughly assess the wood surface for any existing issues that may interfere with the staining process.
The first step in preparation is sanding the wood. Sanding removes old finishes, imperfections, and rough spots that could lead to uneven staining. It is advisable to start with a coarser grit sandpaper, gradually progressing to finer grits. This methodical approach helps create a smooth, even surface that allows the stain to penetrate effectively. When sanding, it is important to follow the grain of the wood to avoid scratches that can mar the final finish.
After sanding, cleaning the surface is paramount. Dust and debris left from the sanding process can prevent proper adhesion of the stain, resulting in a blotchy and unattractive finish. Use a vacuum or a damp cloth to remove all dust particles. For more difficult residues, a gentle wood cleaner can be employed to ensure that the surface is free of contaminants.
Additionally, if the wood has been previously stained or finished, it may require extra attention. Stripping the old finish can be necessary to achieve an even application of new stain. This can involve using chemical strippers or sanding, depending on the condition of the wood. Addressing these issues upfront can prevent common pitfalls such as streaking, uneven color, and adhesion problems that could ultimately ruin the project.
In summary, investing time into thorough preparation by sanding, cleaning, and addressing any existing issues will significantly enhance the outcome of your wood staining project. By following these steps, you will achieve a professional finish that is both aesthetically pleasing and durable.
Techniques for Applying Wood Stain Without Mistakes
Effectively applying wood stain is crucial to achieving a professional finish, and utilizing the right techniques can significantly prevent common mistakes. One of the first steps in the staining process involves selecting appropriate tools, as the choice of application implements can greatly influence the outcome. Quality brushes, lint-free rags, and spray applicators are popular options. Natural bristle brushes are ideal for oil-based stains, while synthetic brushes suit water-based products. Rags can be used for wipe-on techniques, allowing for more control over the stain application.
Before beginning the application, it is essential to prepare the wood surface adequately. Sanding the wood to a smooth finish will help the stain absorb evenly and reduce the chances of blotching. Always follow the manufacturer’s directions regarding the stain’s application and recommended drying times, as this ensures optimal results. When applying the stain, start in a small section and use consistent strokes. For a brush application, work in the direction of the wood grain to prevent streaking. A foam applicator can also provide a smooth finish, especially on flat surfaces.
Common mistakes during wood stain application include over-saturation and not allowing sufficient drying time. To mitigate these issues, avoid applying too much stain at once; instead, apply it gradually and wipe away excessive amounts. A consistent application technique will help avoid streaking and ensure even color distribution. Additionally, be cautious of environmental factors such as temperature and humidity, as these can impact drying times and stain absorption. In the event of accidental blotching, sanding the area lightly and reapplying the stain can help to resolve the issue. By diligently applying these techniques and maintaining a watchful eye throughout the process, you can achieve a beautifully stained finish without the pitfalls associated with poor application practices.
Final Touches: Sealing and Maintaining Your Stained Wood
Sealing stained wood is an essential step to ensure the longevity and aesthetic appeal of your woodworking projects. By applying a protective finish, you defend the wood against damage caused by moisture, UV rays, and daily wear. There are several sealing options available, each with unique characteristics that cater to different needs and preferences. Polyurethane, varnish, and wax are among the most popular choices for sealing stained wood.
Polyurethane is a synthetic finish that offers exceptional durability and chemical resistance. Available in both water-based and oil-based formulas, polyurethane creates a hard, protective layer that is particularly effective for high-traffic areas or surfaces subject to spillages. When using polyurethane, it is advisable to wait at least 24 hours after staining the wood before applying the sealant. This allows the stain to cure properly, ensuring that the colors remain vivid.
Varnish, on the other hand, is a more traditional option, often featuring a blend of resins, oils, and solvents. It provides excellent protection against water and UV damage while maintaining a warm, natural appearance. For best results, apply varnish in thin, even coats, allowing adequate drying time between applications, which can vary based on environmental conditions.
Wax offers a softer finish that enhances the wood’s natural color and texture. While it doesn’t provide the same level of durability as polyurethane or varnish, it is easily applied and reapplied as needed. Wax is typically recommended for lower-use items or decorative pieces. After sealing, maintaining your stained wood can be achieved through regular dusting and, if necessary, applying additional coats of sealant or wax to help preserve its beauty.
In summary, the right sealing choice paired with regular maintenance will ensure that your stained wood projects remain vibrant and protected for years. By respecting the cure times and applying appropriate care, you can enjoy the results of your hard work while preserving the integrity of the wood.
If you’re interested in purchasing the item you seek, please click the link for additional details: #americanachoice.
https://amzn.to/3SBN3Oy
AFFILIATE DISCLOSURE: I am an affiliate for this company, I am not a paid employee.
I may receive a commission if you click a link on this page and choose to purchase something.
You can rest assured I will only share things I believe in and will be valuable to you.