Setting the Scene: Making Friday Night Your Creative Playground
Creating an inviting atmosphere is essential for a successful home project night. By transforming your living space into a creative playground, you can foster a sense of excitement and inspiration that not only encourages productivity but also enhances enjoyment. Begin by considering the lighting; soft, warm lighting can create a cozy ambiance, while adjustable task lighting can help focus on your specific home projects without causing eye strain. Consider using fairy lights or candles to infuse warmth and character into your environment.
Next, add a selection of snacks that will keep energy levels up while providing moments of indulgence. Consider preparing a variety of treats, such as popcorn, cut fruits, or even a simple charcuterie board. Having these little delights at your fingertips makes the experience more pleasant and allows for breaks to recharge without straying too far from your chosen project. This balance of work and relaxation is key to maintaining enthusiasm throughout the evening.
Music also plays a pivotal role in setting the tone. A curated playlist of your favorite tunes can energize your creative session and keep spirits high. Choose upbeat songs that inspire creativity, or, alternatively, opt for instrumental pieces that offer a calming backdrop to your tasks. The goal is to cultivate a sound environment that complements the activities without overwhelming your focus.
Ultimately, crafting the right atmosphere for your Friday night home projects is about making your space inviting and enjoyable. When everything is in place—from the lighting to the snacks and the music—you can turn your home into a dynamic hub for creativity. This thoughtful preparation will create a memorable experience and set the ideal conditions for engaging in enjoyable DIY activities.
Project #1: Painting an Accent Wall – Transform Your Space
Painting an accent wall is an enjoyable and straightforward project that can dramatically enhance your living space. This simple task not only brings forth a new color that rejuvenates a room, but it also allows for personal expression through creativity and design. Choosing the right color is pivotal; consider the purpose of the room, existing décor, and the atmosphere you want to cultivate. Warm colors like reds and oranges can generate a lively vibe, while cooler hues such as blues or greens can provide a sense of calm.
Before diving into painting, prep the space effectively. Start by removing any furniture or covering it with drop cloths to prevent unwanted splatters. Use painter’s tape to mask off edges and trim, ensuring clean lines and a professional finish. It’s advisable to select high-quality paint, as this can significantly affect the result and durability of your accent wall. Moreover, consider applying a primer if your previous wall color is drastically different from your new choice.
As the brush touches the wall and spreads the paint, there is an undeniable satisfaction in witnessing the transformation unfold. Whether you opt for a solid, bold color or choose to create a pattern with geometric shapes or stencils, the possibilities are endless. This creative outlet can serve as a de-stressing activity, promoting a sense of accomplishment as you step back to view your handiwork.
Accent walls are particularly effective in smaller spaces, drawing attention and adding dimension without overwhelming the senses. Furthermore, the fresh splash of color can enhance mood, making this project not only a visual enhancement but also an impactful one on emotional well-being. Thus, painting an accent wall is more than just a home improvement task; it’s a fun way to express your individuality, and a perfect project for a Friday night.
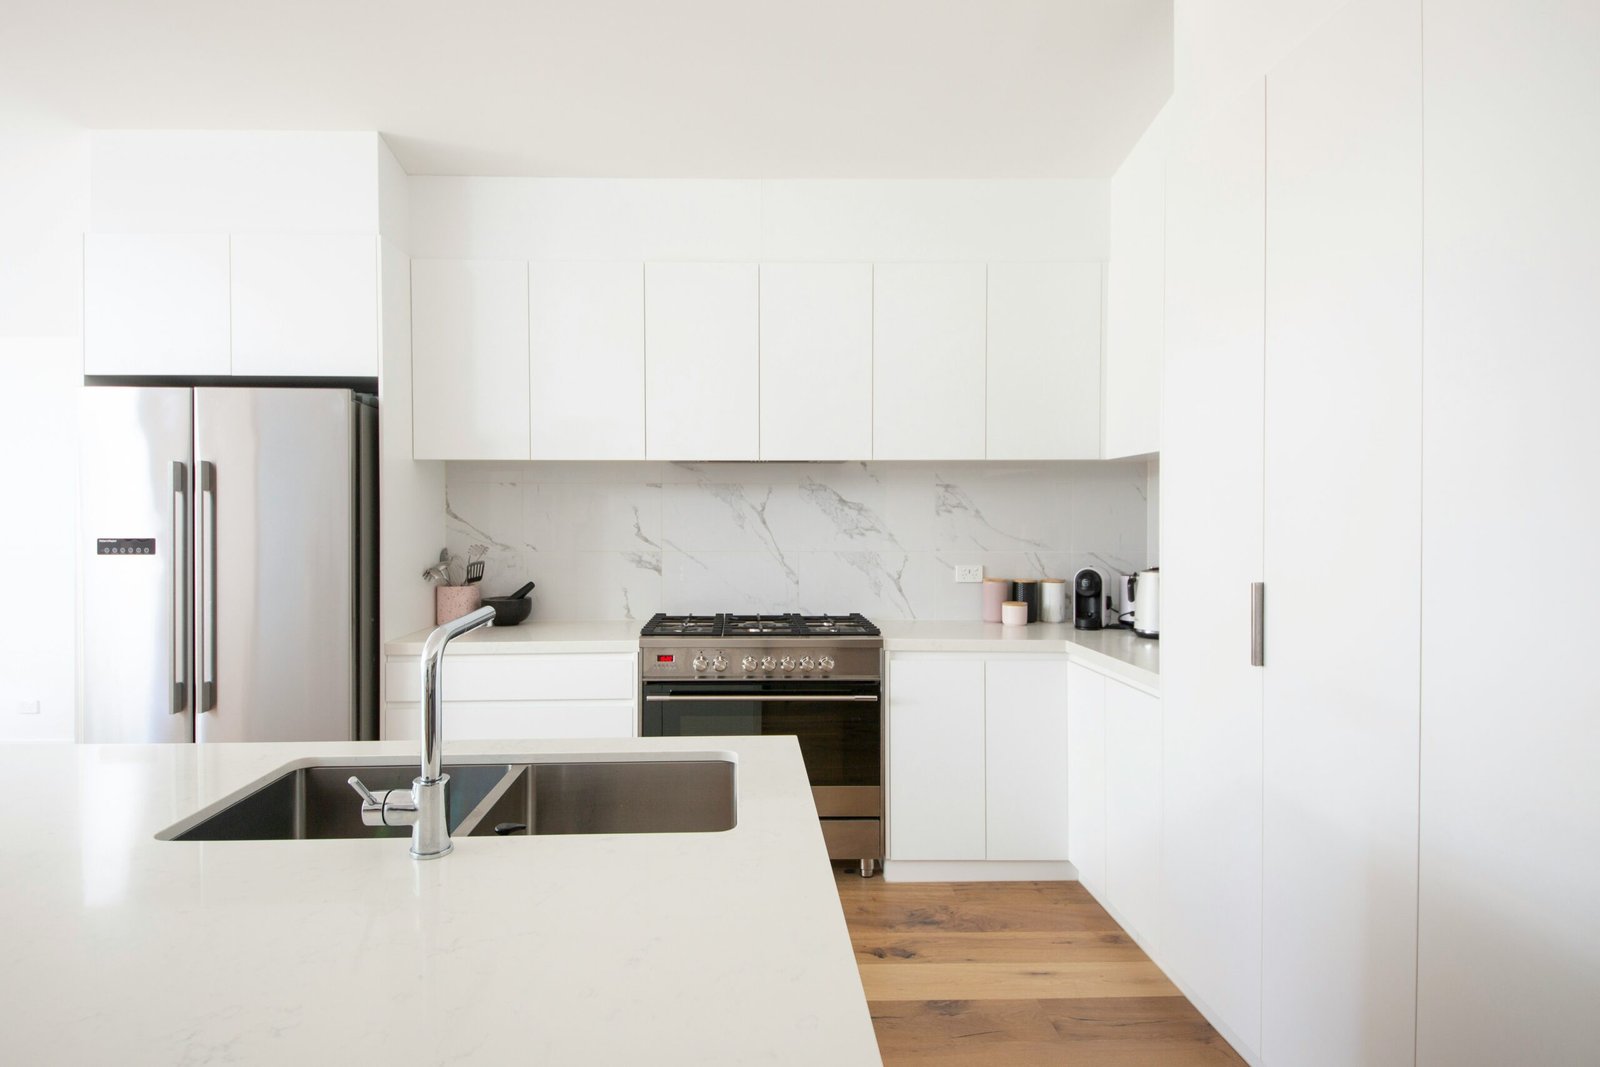
Peel-and-Stick Tile Magic – Instant Upgrade
Peel-and-stick tiles have revolutionized the way homeowners can approach home improvement projects, offering a fun and straightforward option for anyone looking to update their space. These adhesive tiles come in a variety of styles, colors, and textures, making them suitable for transforming kitchens and bathrooms without the need for extensive remodels or professional assistance. Whether you prefer classic ceramic looks, vibrant mosaics, or modern geometric patterns, there is a peel-and-stick tile option that will match your unique aesthetic.
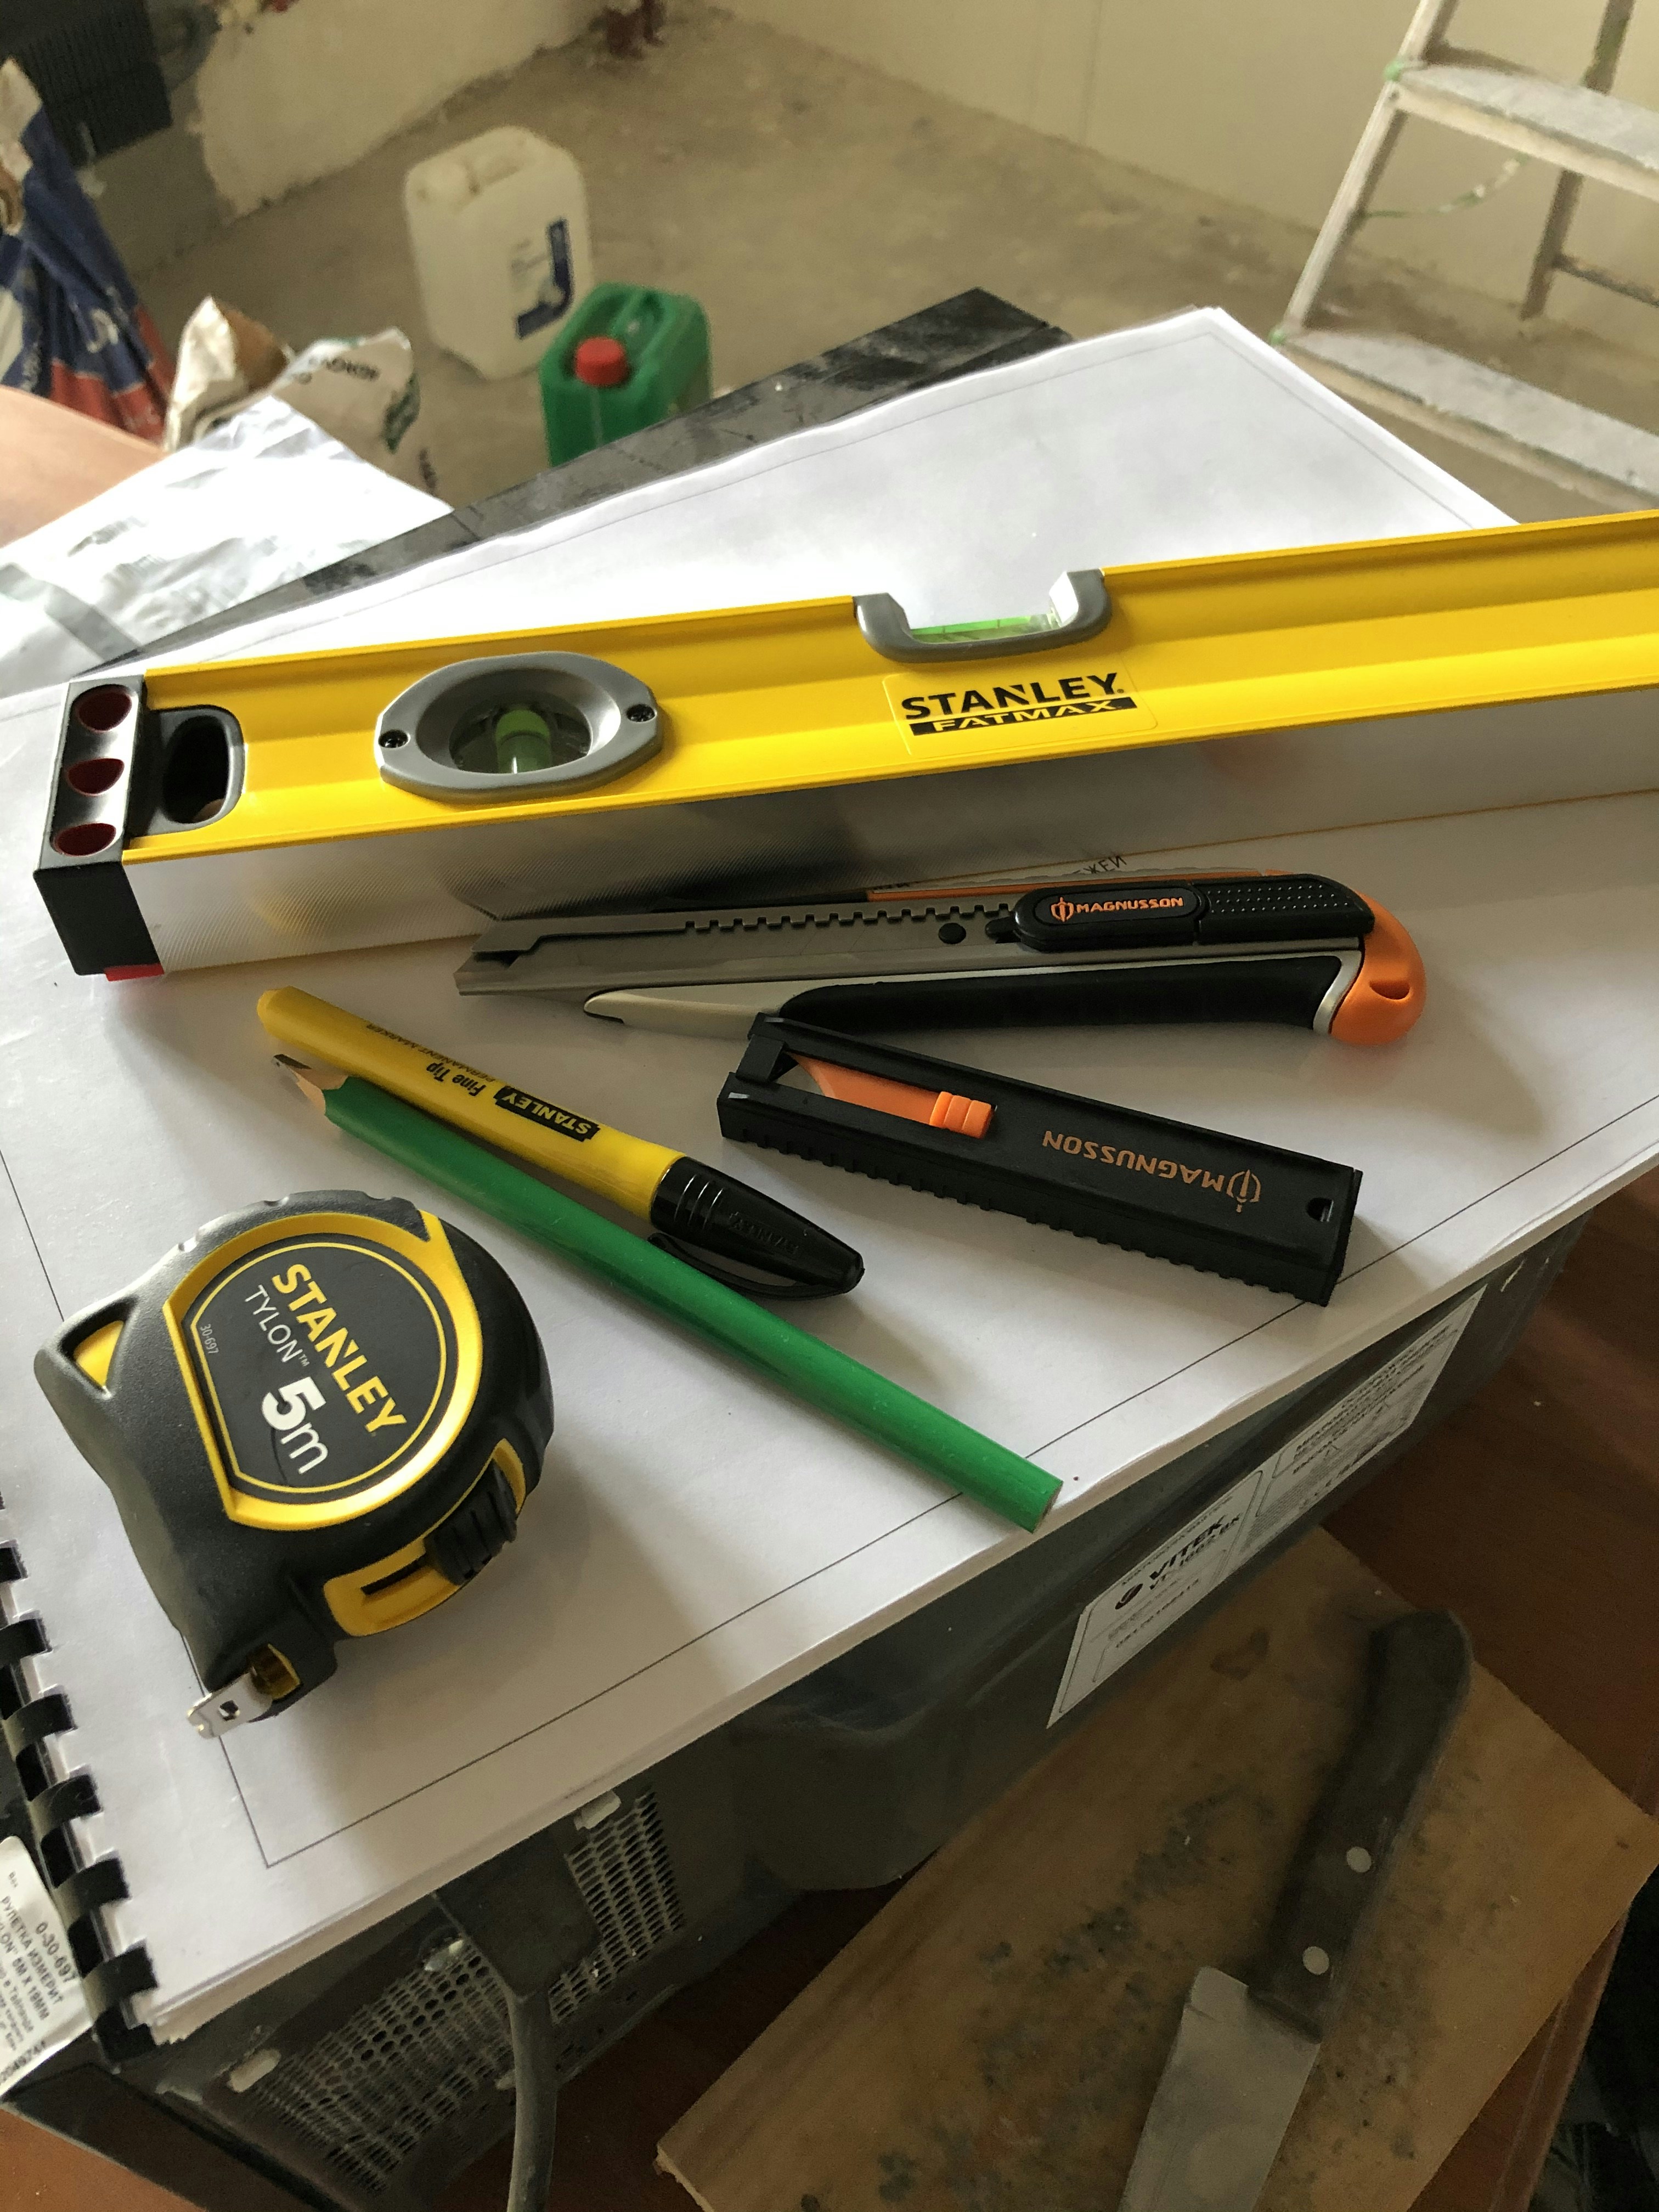
The appeal of this project primarily lies in its simplicity and instant impact. With just a few tools, typically a utility knife, a straight edge, and a level, even novice DIY enthusiasts can undertake this project confidently. Before you begin, it is essential to prepare your surface; ensuring it is clean and dry will help the adhesive bond more effectively. Next, measure your space carefully to determine how many tiles you will need, factoring in any cuts for edges or appliances. Once you have your tiles in hand, simply peel off the backing and press them into place, aligning them as you go. It is recommended to start at the center of your space for a symmetrical look and work your way outward.
This project not only showcases your creativity but it also provides immediate gratification as you watch the transformation of your room unfold in real-time. The durability of peel-and-stick tiles further enhances their appeal, as they are generally water-resistant and easy to clean, making them a practical choice for high-traffic areas. As a bonus, should your style shift down the line, removing and replacing these tiles is just as simple as the initial installation. Overall, peel-and-stick tiles present a perfect compromise between practicality and aesthetic joy, ideal for a fun Friday night project.
Project #3: Building a Floating Shelf – Function Meets Style
Building a floating shelf can be an exciting and rewarding project that adds both functionality and aesthetic appeal to your home. This guide will walk you through the simple steps needed to create your very own floating shelf, turning a mundane Friday night into an enjoyable and productive experience.
First, gather the necessary materials, which typically include a piece of wood (such as pine or plywood), wall brackets, screws, a drill, and sandpaper. Select the wood size according to the space available and the weight you expect it to hold. Once you have everything, begin by measuring the space where you plan to install the shelf. A floating shelf is not only practical but also allows you to showcase decorative items, books, or photos.
A crucial step is to cut the wood to your desired length and width. Sand down the edges to ensure that the surface is smooth and splinter-free. After preparing the wood, consider applying a finish—such as paint, stain, or varnish—to match your home’s décor. Your personal design choices will enhance the overall look and make the shelf a special addition to any room.
Next, it is important to install the wall brackets securely. Use a stud finder to locate the wall studs, as this will provide more support for the floating shelf. Mark the spots where you’ll screw in the brackets. With the drill, carefully install the brackets, ensuring that they are level and appropriately spaced. Finally, simply slide your shelf onto the brackets and double-check its stability.
This project offers an excellent opportunity for creativity, as you can customize the finish and size based on your preferences. In the end, a floating shelf is more than just a functional addition; it serves as a statement piece within your living space, embodying both functionality and style. Each time you admire your handiwork or utilize the shelf, you will appreciate the joy of having created something uniquely yours.
If you’re interested in purchasing the item you seek, please click the link for additional details: #americanachoice.
https://amzn.to/3SBN3Oy
AFFILIATE DISCLOSURE: I am an affiliate for this company, I am not a paid employee.
I may receive a commission if you click a link on this page and choose to purchase something.
You can rest assured I will only share things I believe in and will be valuable to you.