Understanding the Types of Holes in Drywall
Drywall is a widely used material in construction and interior design due to its ease of installation and repair. However, over time, it is prone to damage, manifesting in various types of holes. Understanding these types of holes is crucial for effective drywall repair. Typically, holes can be categorized into three main sizes: small, medium, and large.
Small nail holes are one of the most common issues homeowners face. These usually occur from hanging pictures or mounting decorations. The damage is minimal, often just the size of a nail head. Repairing these holes is a straightforward process that typically involves the application of a lightweight spackle or compound, followed by sanding and painting. Due to their size, they require minimal materials and are relatively quick to fix.
Medium-sized holes, often caused by furniture impacts or mishandled tools, present a more significant challenge. These holes can range from the size of a quarter to a few inches across. Repairing medium holes may involve a more robust patching material, such as adhesive mesh tape, along with a joint compound. This process not only fills the hole but also ensures that the surrounding area remains stable and aesthetically pleasing.
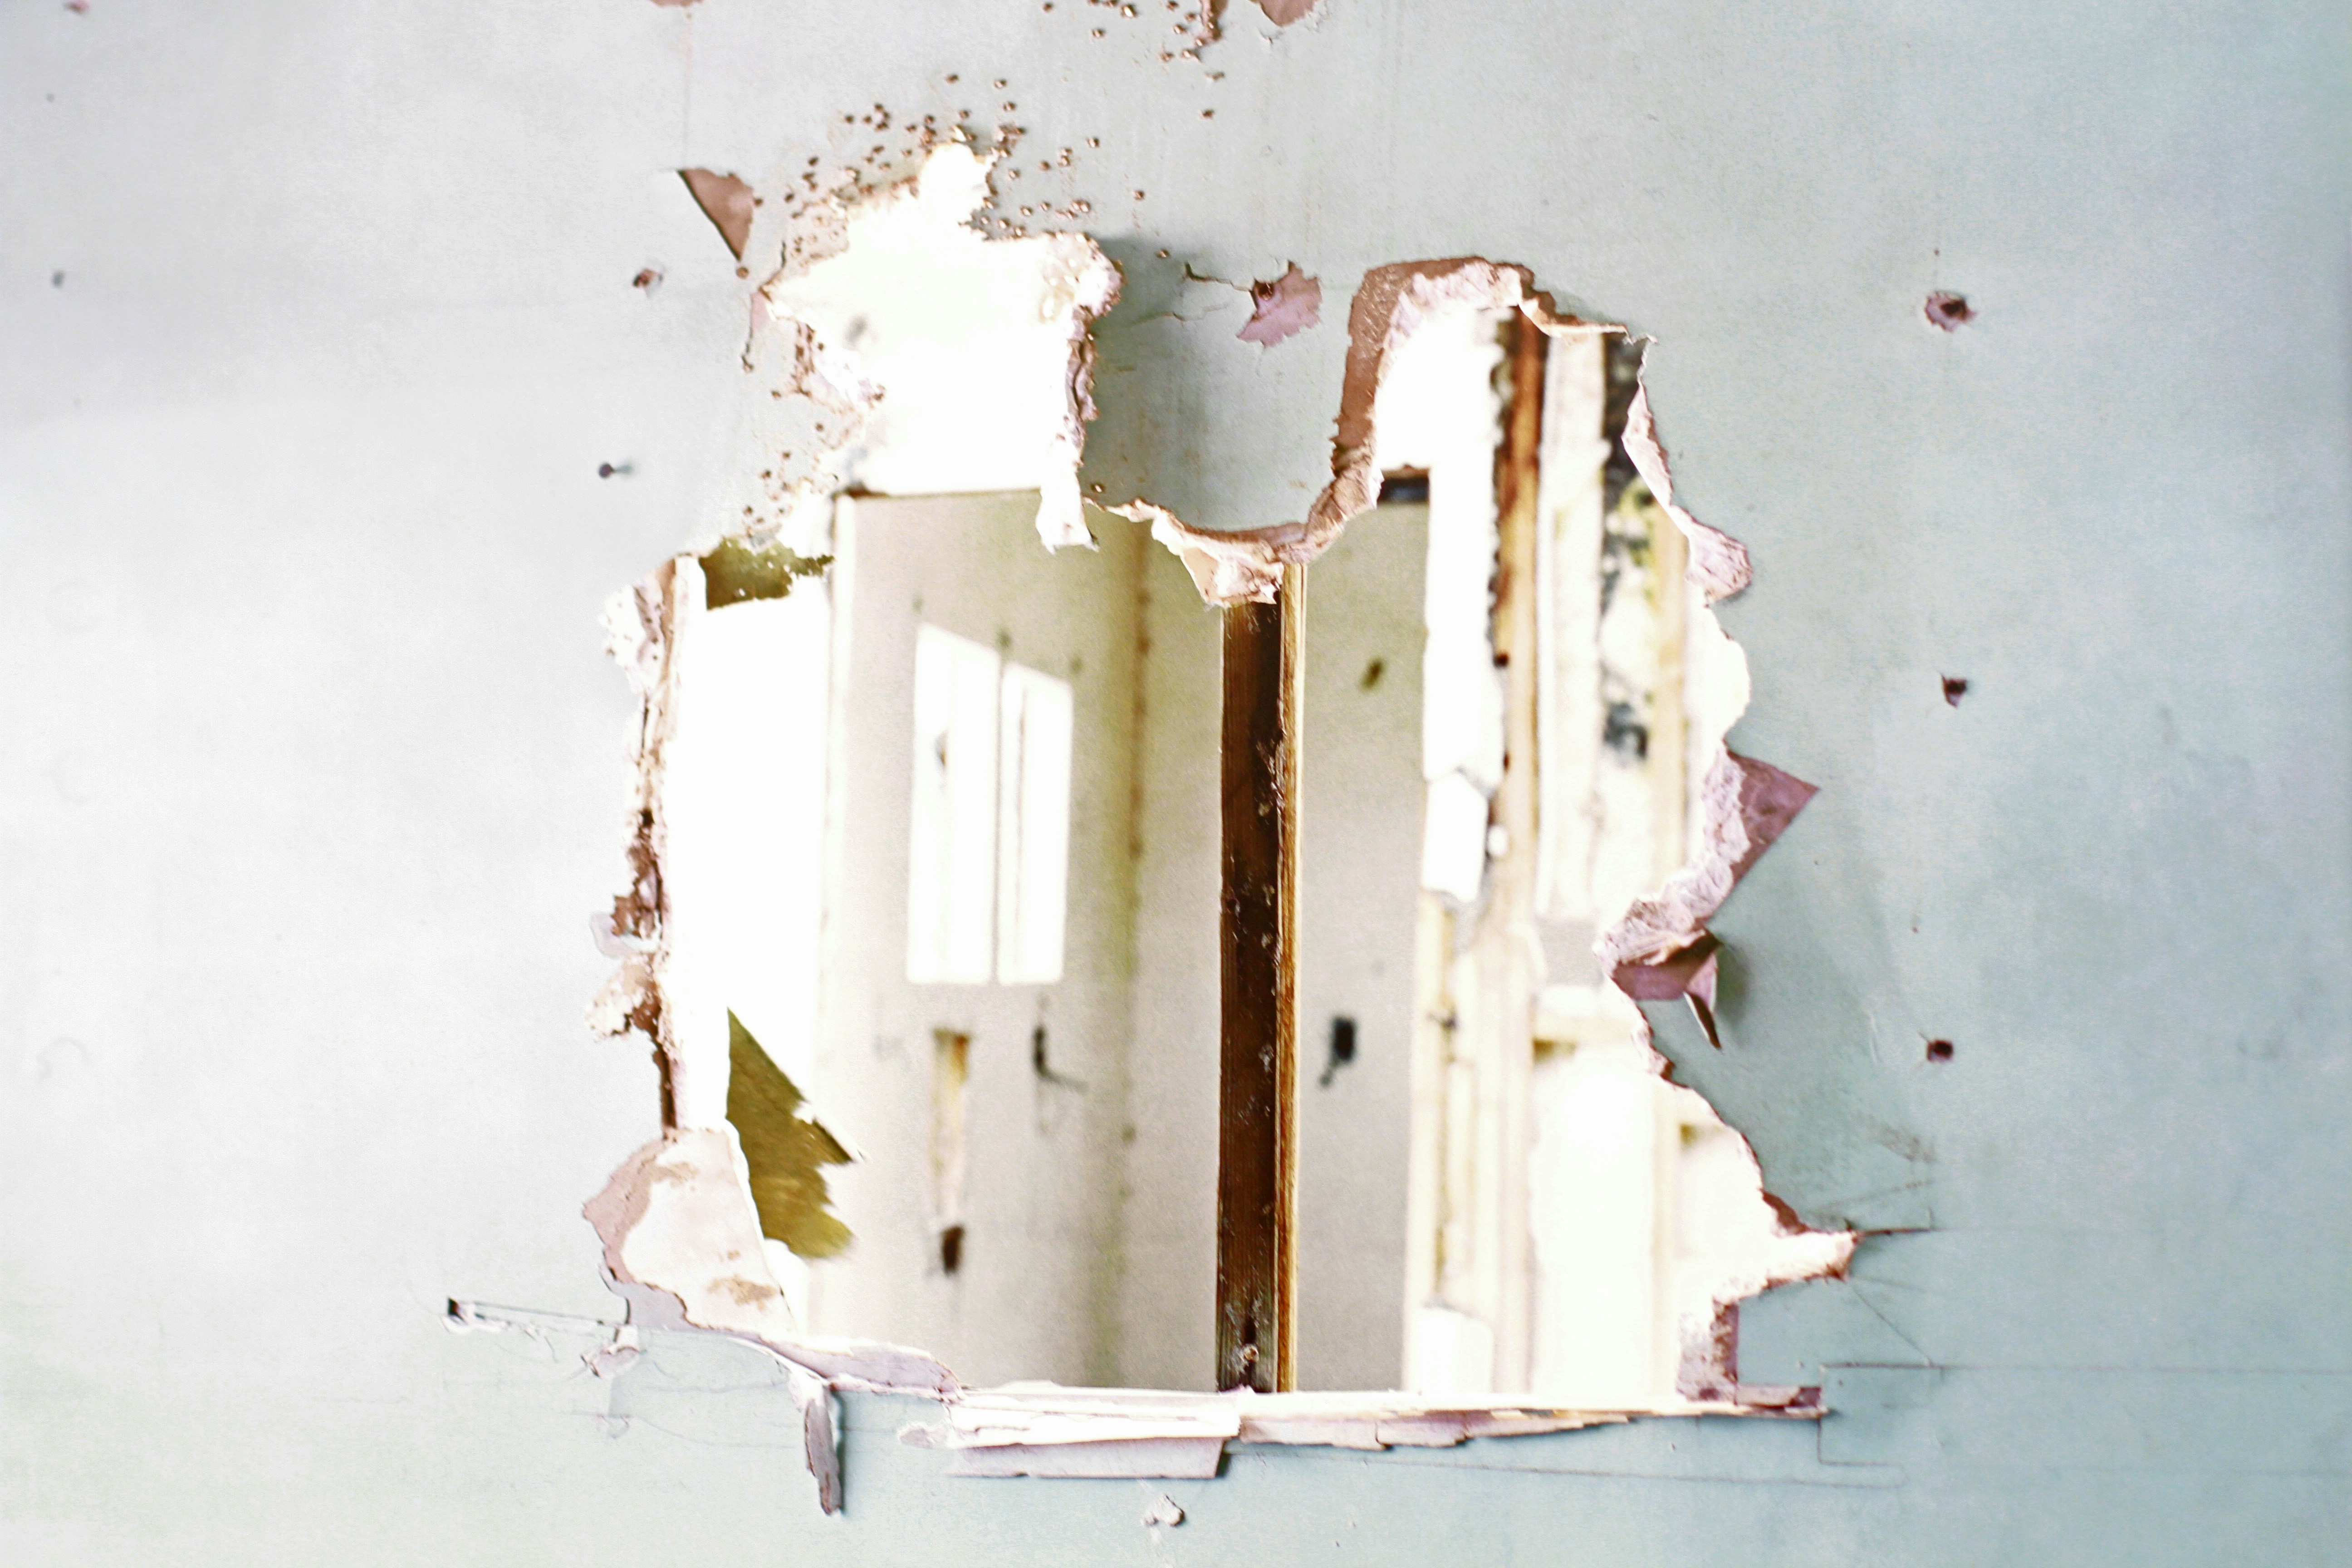
Finally, large holes, which may occur due to accidents, like a fist-sized impact, necessitate a more comprehensive approach. Typically exceeding two inches in diameter, these repairs often require cutting out the damaged section of drywall and replacing it with new material. This process usually involves framing for support, as well as the application of a patch and finishing compounds to seamlessly integrate the repair with the existing wall.
Each type of hole in drywall necessitates a different method of repair and understanding these distinctions not only ensures effective restoration but also prepares homeowners for potential costs associated with materials and labor in the repair process.
Material Costs for 2026: What to Expect
When it comes to drywall repair in 2026, understanding the material costs involved is crucial for homeowners and DIY enthusiasts alike. These costs can vary based on the size and extent of the damage as well as the specific materials required for each repair. The following breakdown provides an overview of the expected costs for various patching materials.
For small holes, spackle patch kits are among the most common solutions, typically priced around $5 to $15. These kits usually include spackle compound and a small applicator, making them ideal for minor repairs. However, as the size of the damage increases, so do the material requirements. Mesh patches, which are used for slightly larger holes, generally cost between $10 and $20. These patches are reinforced with mesh, providing a solid structure for joint compound application.
The more comprehensive solution involves joint compound, essential for smoothing and blending the patched area with the surrounding drywall. A standard container of joint compound can range from $10 to $25, depending on the brand and quantity. Additionally, homeowners should consider touch-up materials. Sandpaper for smoothing out patched surfaces is relatively inexpensive, often costing less than $10 for a pack. Paint and primer can add significantly to the total costs, with prices varying from $10 to $30 each depending on quality and color choices.
In sum, the overall investment for drywall repair materials in 2026 will range from under $20 for simple fixes to around $30 for more extensive repairs. It is advisable for homeowners to evaluate the extent of their repair needs to ensure they allocate the appropriate budget for these essential materials.
Step-by-Step Repair Techniques for Every Hole Size
Repairing drywall can be a straightforward process when you understand the necessary techniques for various hole sizes. This guide provides step-by-step methods to address small, medium, and fist-sized holes, ensuring a professional finish with minimal effort.
Small Holes (up to 1 inch)
For minor damages, such as nail holes or small dents, begin by cleaning the area around the hole. Use a utility knife to remove any loose or damaged drywall paper. Next, apply a lightweight spackling compound with a putty knife, ensuring it fills the hole completely. Smooth it out to blend with the surrounding surface. After drying, sand lightly for an even finish, and paint to match the existing wall color. The total cost for materials typically ranges from $5 to $15.
Medium Holes (1 to 4 inches)
Medium-sized holes require a more robust approach. Cut the hole into a neat square or rectangle using a utility knife, ensuring clean edges. Cut a piece of drywall larger than the hole to serve as a patch. Secure it in place with screws or adhesive and cover the seams with joint tape before applying joint compound. Feather the edges for a smooth transition. Allow to dry, then sand and paint. The expected expenses for this repair are around $10 to $30.
Fist-sized Holes (4 inches and larger)
For large holes, the repair begins by excavating the damaged area into a clean square or rectangle. Create a backer board by screwing in a scrap piece of wood to support the drywall patch. Cut a new drywall piece to fit the hole and attach it securely. As with medium holes, apply joint tape and compound to the seams, feathering outwards. Once the compound has dried and been sanded smooth, paint to finish. The material costs for this repair can vary from $20 to $60.
By following these steps, you can effectively manage drywall repairs of any size, equipping yourself with invaluable home maintenance skills.
Choosing the Right Tools and Materials
When embarking on drywall repairs, having the right tools and materials is essential to achieving a professional finish. The process can range from small holes to larger repairs; thus, selecting appropriate supplies is crucial. One of the primary items you will need is a putty knife. This tool is used for applying joint compound to the surface and smoothing out any imperfections. It is advisable to have a few sizes, such as a 4-inch knife for smaller patches and a wider one, about 10 inches, for larger repairs. Brands like Hyde and Warner offer reliable options at various price points.
Another essential tool is a sanding sponge. After the joint compound has dried, using a sanding sponge allows for a smooth finish that blends seamlessly with the surrounding wall. Choose a medium-grit sponge to start with and, if necessary, move to a finer grit for polishing. Depending on the size of the repair, you may also need a drywall saw for cutting out damaged sections. Look for a keyhole or jab saw, which are ideal for making precise cuts without damaging nearby areas.
In terms of materials, joint compound is fundamental for patching holes. There are two main types: pre-mixed and powder. Pre-mixed joint compound is convenient and user-friendly, while the powder variety is often preferred by professionals for its durability and workability. Additionally, a quality primer is necessary to prepare the patched area for painting, ensuring better adhesion and coverage. Opt for a stain-blocking primer to effectively cover any residual discoloration from the repair. Recommended brands include Zinsser and Benjamin Moore for their quality and cost-effectiveness.
If you’re interested in purchasing the item you seek, please click the link for additional details: #americanachoice.
https://amzn.to/3SBN3Oy
AFFILIATE DISCLOSURE: I am an affiliate for this company, I am not a paid employee.
I may receive a commission if you click a link on this page and choose to purchase something.
You can rest assured I will only share things I believe in and will be valuable to you.