Understanding Tool Storage Options
Effective tool storage is essential for maintaining an organized and efficient workspace, be it in a home garage or a professional workshop. Various options exist, each with its distinct advantages and ideal applications. This section explores three popular storage solutions: wall-mount systems, tool chests, and pegboards.
Wall-mount systems provide an innovative solution for maximizing vertical space. They come in various designs, allowing users to customize their layout according to the tools they possess. These systems typically include hooks, shelves, and bins, which enable easy visibility and access to tools. By utilizing wall space, they not only promote organization but also free up valuable floor space, crucial in smaller work areas.
Tool chests, on the other hand, offer a more traditional storage approach. They are often built with drawers and compartments, catering to a wide range of tools and accessories. Tool chests provide both security and organization, with many models featuring lockable drawers to protect valuable equipment. Their mobility is another advantage, as many come equipped with wheels, allowing users to move tools to different job sites or areas within the workspace with ease.
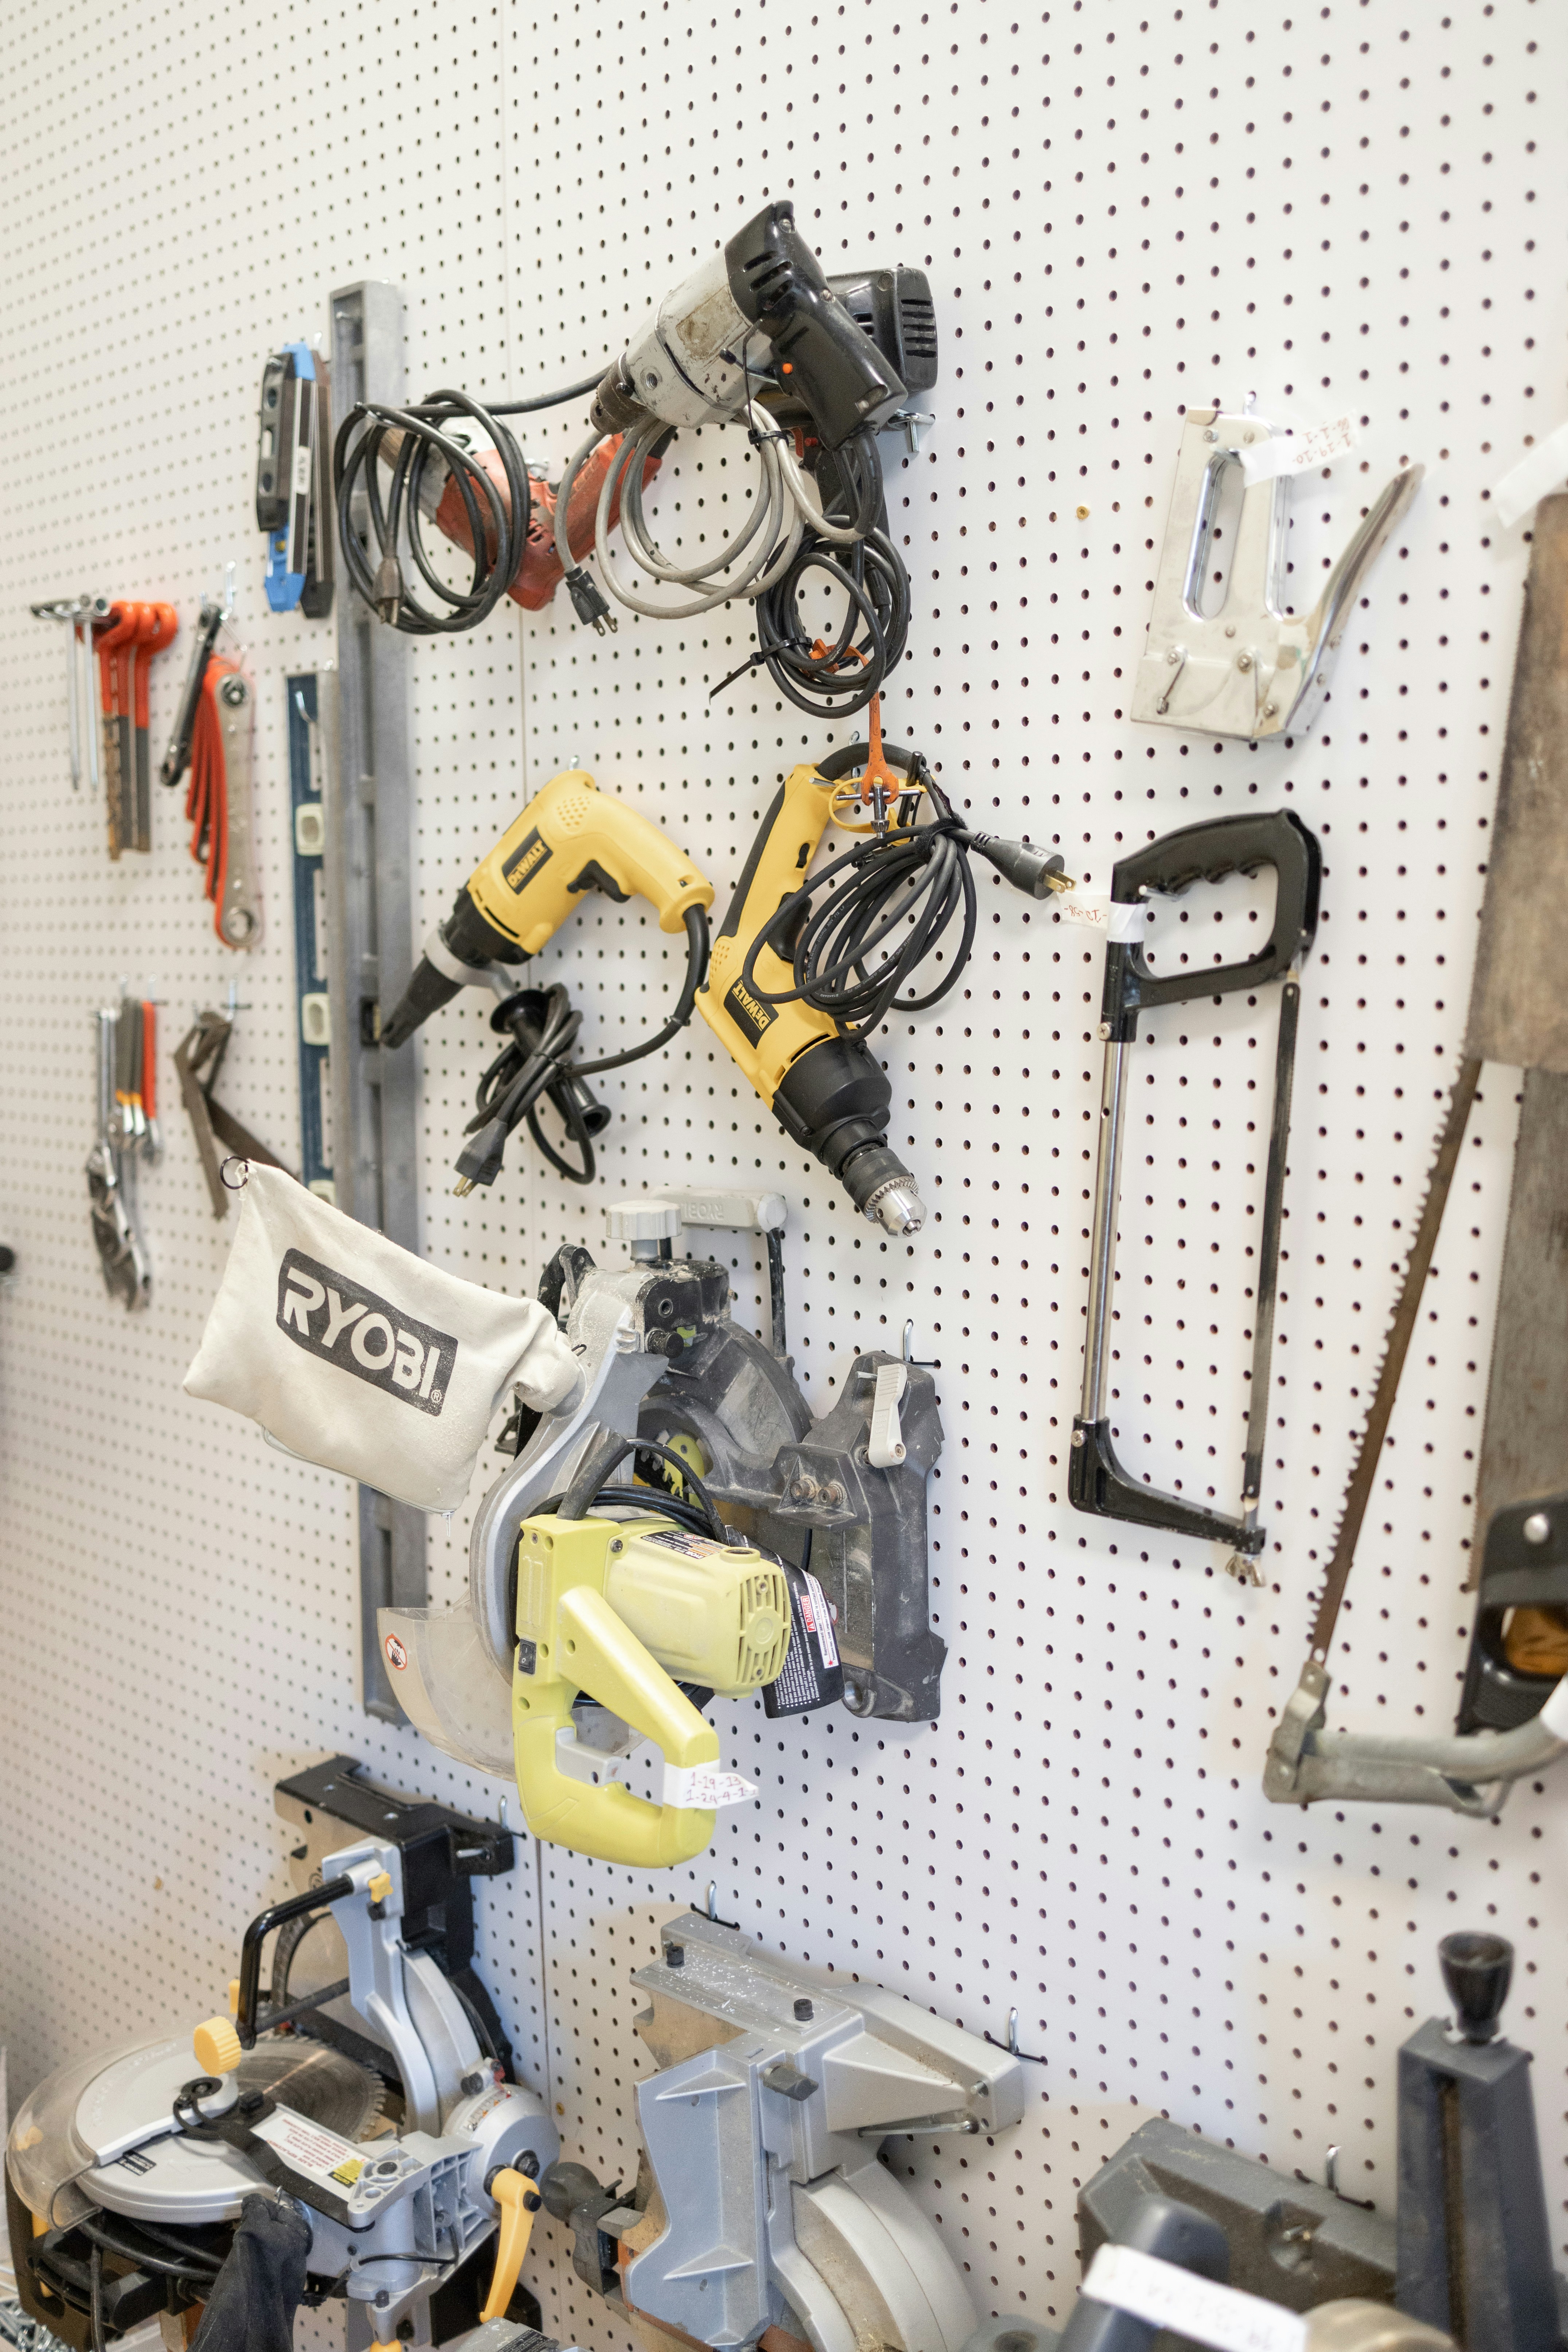
Pegboards serve as a versatile storage option that allows for customizability and easy access. By hanging various tools on a pegboard, individuals can quickly identify and reach for the items needed, reducing downtime during projects. The ability to rearrange hooks and slots as needed provides a dynamic storage solution as tool collections expand or change over time.
Each of these storage options plays a vital role in ensuring that tools are organized, accessible, and efficiently utilized. The selection of the appropriate tool storage system will depend on individual needs, available space, and the variety of tools owned. By investing time in understanding and implementing the best storage solutions, users can create a more productive environment that fosters creativity and efficiency.
Cost Breakdown for Tool Storage Solutions
In 2026, the financial investment required for various tool storage solutions varies significantly based on the type and quality of the product. It is crucial for consumers to understand these costs to make informed purchasing decisions. This section provides a comprehensive cost analysis of pegboards, hooks, wall-mount magnetic strips, and tool chests at both budget and mid-range price points.
Pegboards remain a popular choice for efficient tool storage. In 2026, the prices for basic pegboards generally range from $15 to $40, depending on the size and material. Metal pegboards, which offer enhanced durability and aesthetics, usually fall within the $30 to $75 range. Furthermore, hooks and accessories for pegboards tend to be sold separately, averaging around $1 to $5 per piece, which adds to the overall setup cost.
Wall-mount magnetic strips offer an alternative method for tool organization. The cost of basic strips is typically between $20 and $50, with higher-end models costing up to $80. These strips not only provide a space-saving solution but also allow for quick access to frequently used tools, thereby enhancing efficiency. When considering the installation, some consumers may need to factor in additional expenses for mounting hardware and installation services, if necessary.
Tool chests are another essential component of tool storage. Budget tool chests are available from approximately $100 to $300, while mid-grade options can range from $300 to $700. These prices reflect various features, such as drawer capacity, locking mechanisms, and overall durability. It is advisable to keep in mind that investing in higher-quality tool storage can lead to savings in the long run, as they generally withstand wear and tear more effectively than their cheaper counterparts.
Understanding the price ranges of various tool storage solutions can greatly aid consumers in budgeting appropriately for their tool organization needs. Each option carries its unique benefits and associated costs, which should be carefully evaluated to meet individual storage requirements.
DIY Tool Storage: Building a Wall-Mount French Cleat System
Creating a DIY wall-mount French cleat system for tool storage is an excellent choice for those looking to maximize their available space while keeping costs manageable. This approach not only provides an effective organizational solution but also allows for customization based on individual tool sizes and types.
To begin, it’s essential to gather the necessary materials for the construction of your French cleat system. You will need a few basic items such as quality plywood or solid wood, a saw, screws, and a drill. The cost of these materials can vary, but you can typically expect to spend around $50 to $100, depending on the size of your system and the choice of wood. This is significantly cheaper than purchasing pre-made tool storage solutions.
Once your materials are ready, follow these step-by-step instructions to construct your French cleat system. First, cut two strips of plywood or wood at a 45-degree angle to create the cleat. Attach one piece directly to the wall studs, ensuring it is secure. The second piece will serve as the cleat to which your tools will be mounted. Next, you should drill holes into the cleat where hooks or brackets will be affixed, allowing for versatile tool hanging options. Make sure to measure and space holes appropriately to accommodate various tools.
One of the most significant advantages of this DIY project is its adaptability. You can adjust the dimensions and spacing as needed, which is often not possible with commercial storage options. Additionally, painting or staining the wood can add a personal touch to your workshop or garage. Be mindful when installing; use a level to ensure that the cleat is even for a neat and organized appearance.
In conclusion, building a French cleat system is a budget-friendly and customizable method for tool storage that can elevate the functionality of any workspace. As you embark on this project, allow for some trial and error, and enjoy the satisfaction of a well-organized tool area tailored to your specific needs.
Installing and Organizing Your Pegboard: A Step-by-Step Guide
Installing a pegboard is an effective way to enhance your tool organization and storage capacity. To initiate the process, gather the necessary materials and tools. You will need a pegboard panel of your desired size, mounting hardware such as screws and anchors, a level, a drill, a saw (if adjustments to the pegboard dimensions are needed), and a measuring tape. Additionally, different pegboard hooks and accessories will be useful for tool hanging.
Begin by selecting an appropriate wall space that allows for easy accessibility yet keeps tools out of the way. Use the measuring tape to determine the dimensions of the area where the pegboard will be mounted. Once you’ve chosen the location, mark the area where you will install the pegboard.
Next, prepare the wall surface by ensuring it is clean and free of obstacles. If necessary, utilize the saw to trim the pegboard to your desired size. Hold the pegboard against the wall and ensure that it is level. Mark the locations of the mounting holes on the wall through the pegboard openings. Subsequently, drill pilot holes in these marked spots, and install the wall anchors if using concrete or drywall. Attach the pegboard securely using screws.
Once the pegboard is installed, focus on organizing your tools. Begin by categorizing your tools based on their types, such as hand tools, power tools, and accessories. This will not only facilitate ease of access but also contribute to a clean, uncluttered appearance. Utilize the various hooks, shelves, and containers designed for pegboards, ensuring tools are hung securely. When positioning your tools, consider visibility and ergonomics; place frequently used tools at eye level and in easy reach.
To complete the organization process, consider adding labels or visual cues for quick identification. This will enhance the overall efficiency of your workflow. A well-organized pegboard not only maximizes storage potential but also adds to the aesthetic appeal of your workspace. Following these steps will ensure a functional and visually pleasing setup that meets your tool storage needs.
If you’re interested in purchasing the item you seek, please click the link for additional details: #americanachoice.
https://amzn.to/3SBN3Oy
AFFILIATE DISCLOSURE: I am an affiliate for this company, I am not a paid employee.
I may receive a commission if you click a link on this page and choose to purchase something.
You can rest assured I will only share things I believe in and will be valuable to you.