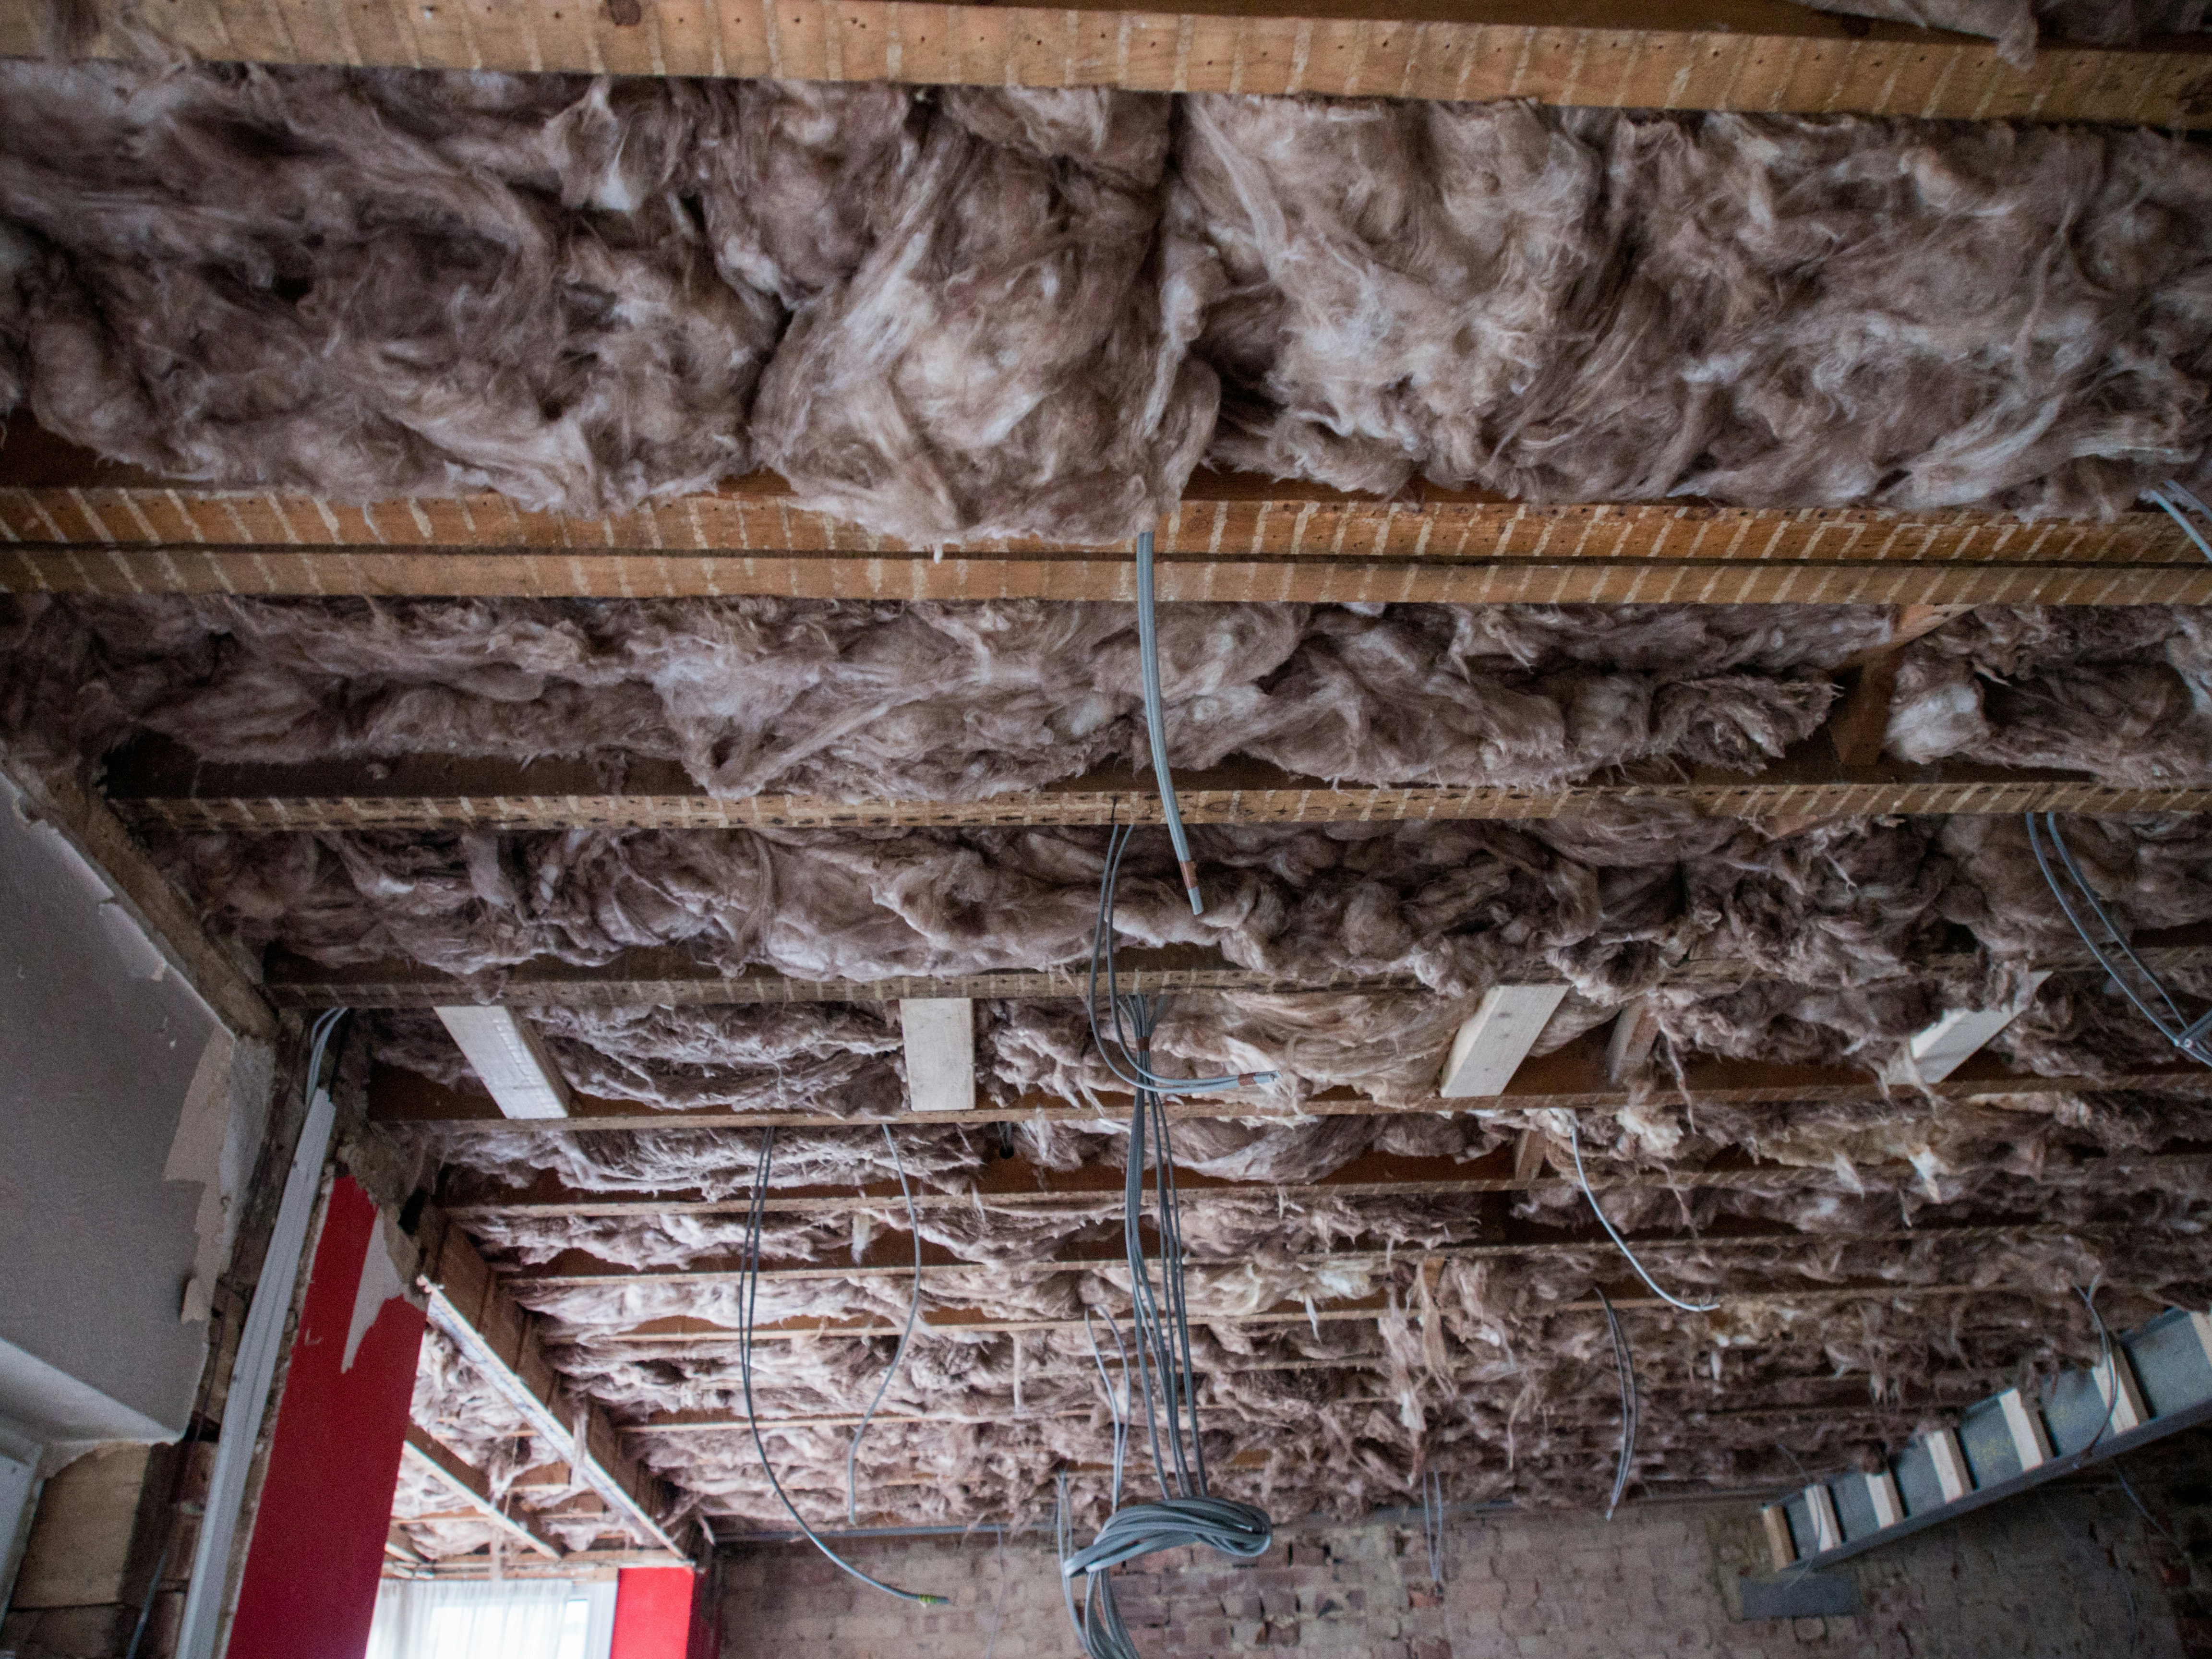
An attached garage can be more than a place to park when winter arrives. If its door has little or no insulation, heat can pass through the large surface area, while gaps around the door may allow cold air to enter. The garage can then become a colder buffer beside the home, increasing heat transfer through shared walls and ceilings. Rooms next to the garage, or directly above it, may feel draftier or take more energy to keep comfortable. The effect varies, but a garage door is often a significant weak point in the building envelope.
Indianapolis homeowners have a useful opportunity to assess this issue during fall, before sustained freezing temperatures set in. Weatherstripping, door alignment, and visible gaps can be checked while conditions remain manageable, and insulation choices can be compared before the coldest weather creates urgency. Approximate R-values help describe the options: an uninsulated door may provide about R-2, a door fitted with a reflective-foam insulation kit about R-8, and a factory-insulated replacement around R-16. These figures indicate resistance to heat flow; a higher R-value generally means less heat passes through the door itself.
Those numbers do not promise a particular reduction in a household’s energy bill. Actual results depend on air leakage, how closely the garage is connected to living areas, and the insulation and air sealing in adjoining walls and ceilings. One estimate suggests that properly insulating an attached-garage door may reduce the heating demand of adjacent rooms by roughly 8–12%, but this is context-dependent, not a universal outcome. The central decision is therefore practical: will a lower-cost kit provide enough improvement for the existing door and garage, or do the door’s condition and the greater thermal performance of a replacement justify the added expense? Evaluating both comfort concerns and the door’s overall state can help homeowners choose before winter.
In 2026, reflective-foam garage door insulation kits typically cost about $45–$90 for a one-car door, making them a comparatively low-cost way to improve an existing garage door. Most kits are intended to fit within the door’s existing sections. Installation commonly involves measuring the panels, cutting the reflective-foam material to size with a utility knife, and securing it with double-sided tape supplied in the kit. The basic tools are a tape measure and utility knife, in addition to the included tape. A straightforward project may take roughly one to two hours, although door size, panel shape, and preparation can lengthen the work.
Careful fitting matters as much as the material selected. Measure each section individually and follow the kit’s instructions for cutting, placement, and attachment; do not assume every section is identical. Before securing panels, check that insulation will not interfere with hinges, rollers, tracks, locks, or the door’s movement. Select a kit designed for the existing door’s construction and section dimensions, since panel type and shape can affect compatibility. Compare the thermal ratings stated for the specific products under consideration, and consult Americana Choice’s insulation-kit selection guidance where applicable. An advertised R-8 may describe an approximate comparison for a kit-insulated door; it should not be treated as a uniform rating for every kit, door, or installation.
A DIY kit is most suitable when the existing door is in sound condition and the homeowner wants a relatively inexpensive improvement. Its practical aim is to reduce heat transfer through the door, not to deliver every benefit of a new, higher-performing door. Insulation cannot repair worn hardware, correct poor alignment, or renew weather seals around the door. Those issues may continue to contribute to drafts or energy loss even after panels are installed. Consider the condition of the whole door, its fit, and the manufacturer’s installation guidance before buying. When the door is structurally sound and compatible with the kit, measured-and-cut panels can offer a manageable upgrade; when greater performance or renewed sealing and hardware are priorities, replacement may be the more appropriate comparison.
For homeowners comparing a garage door insulation kit with full replacement, a factory-insulated door is a larger investment but includes more than insulation. In 2026, installed prices are about $900–$1,800 for a one-car pre-insulated garage door and $1,400–$2,800 for a two-car model. These are broad estimates, not fixed quotes. Replacement generally costs more than adding a kit because the purchase covers a new door and professional installation, rather than insulation materials fitted to the existing door. The final price depends on door size, material, insulation specification, hardware, removal and disposal of the old door, and local labor rates.
Thermal performance may also differ. A factory-insulated door may provide approximately R-16, compared with roughly R-8 for an insulation kit and R-2 for an uninsulated door. These headline values are useful for initial comparison, but they are not necessarily measured on an identical basis. Ask for the manufacturer’s rated whole-door performance and review the product specifications, including construction and seals, rather than assuming that R-values from different products are perfectly interchangeable. A higher nominal rating can improve resistance to heat flow through the door, but it does not by itself describe every source of heat loss in the garage.
Replacement may make sense when the existing door is damaged, fits poorly, is difficult to operate, or is nearing the end of its useful life. It can also suit homeowners who prioritize a higher insulation level or want the broader benefits of a new door and professional installation. However, a higher R-value alone does not establish that replacement will pay for itself through energy savings. The comfort benefit depends partly on the garage’s location and use: improving a cold, detached garage may have limited effect on the home, while an attached garage next to heated rooms can matter more. Consider the door’s condition, desired thermal performance, and the spaces adjoining the garage when weighing the added cost.
The right choice depends on the condition of the existing door, the expected comfort improvement, and the available budget. For a typical one-car garage door, an insulation kit may cost about $45–$90 and take roughly one to two hours to install as a DIY project. By comparison, replacing a one-car door typically costs about $900–$1,800 installed. For a two-car door, an installed replacement may range from $1,400–$2,800. Kit prices for larger doors vary according to dimensions, panel design, materials, and product requirements, so the one-car kit estimate should not be applied automatically.
A kit is often the practical first choice when the current door is in good condition, its panels are compatible with the selected product, and the goal is a modest thermal improvement before winter. Replacement is worth investigating if the door is damaged, unreliable, poorly suited to insulation, or due for an upgrade for other reasons. A new insulated door may provide performance around R-16, depending on the model and construction, but it requires a substantially larger investment. Consider the garage’s connection to the house and how often the space is used when weighing potential comfort benefits against total project cost. Any estimate of reduced heating demand in adjacent rooms is not a guarantee of energy savings or a specific lower utility bill.
Before choosing either option, inspect the weatherstripping and look for obvious air gaps. Insulation panels cannot stop drafts entering around the door perimeter, so sealing those leaks may be an important part of the work. After a DIY modification, confirm that the door opens and closes smoothly and safely; added panel weight or an improper fit can affect operation.
Use a fall checklist: determine whether the garage is attached, inspect the door’s condition and panel type, measure each section, and compare product R-values and compatibility. If considering replacement, obtain local installed quotes for the appropriate door size and features. Then judge the likely comfort improvement against the full project cost, including installation, sealing, and any repairs. This comparison helps match the solution to the home rather than choosing solely by the lowest upfront price.
If you’re interested in purchasing the item you seek, please click the link for additional details: #americanachoice.
https://amzn.to/3SBN3Oy
AFFILIATE DISCLOSURE: I am an affiliate for this company, I am not a paid employee.
I may receive a commission if you click a link on this page and choose to purchase something.
You can rest assured I will only share things I believe in and will be valuable to you.