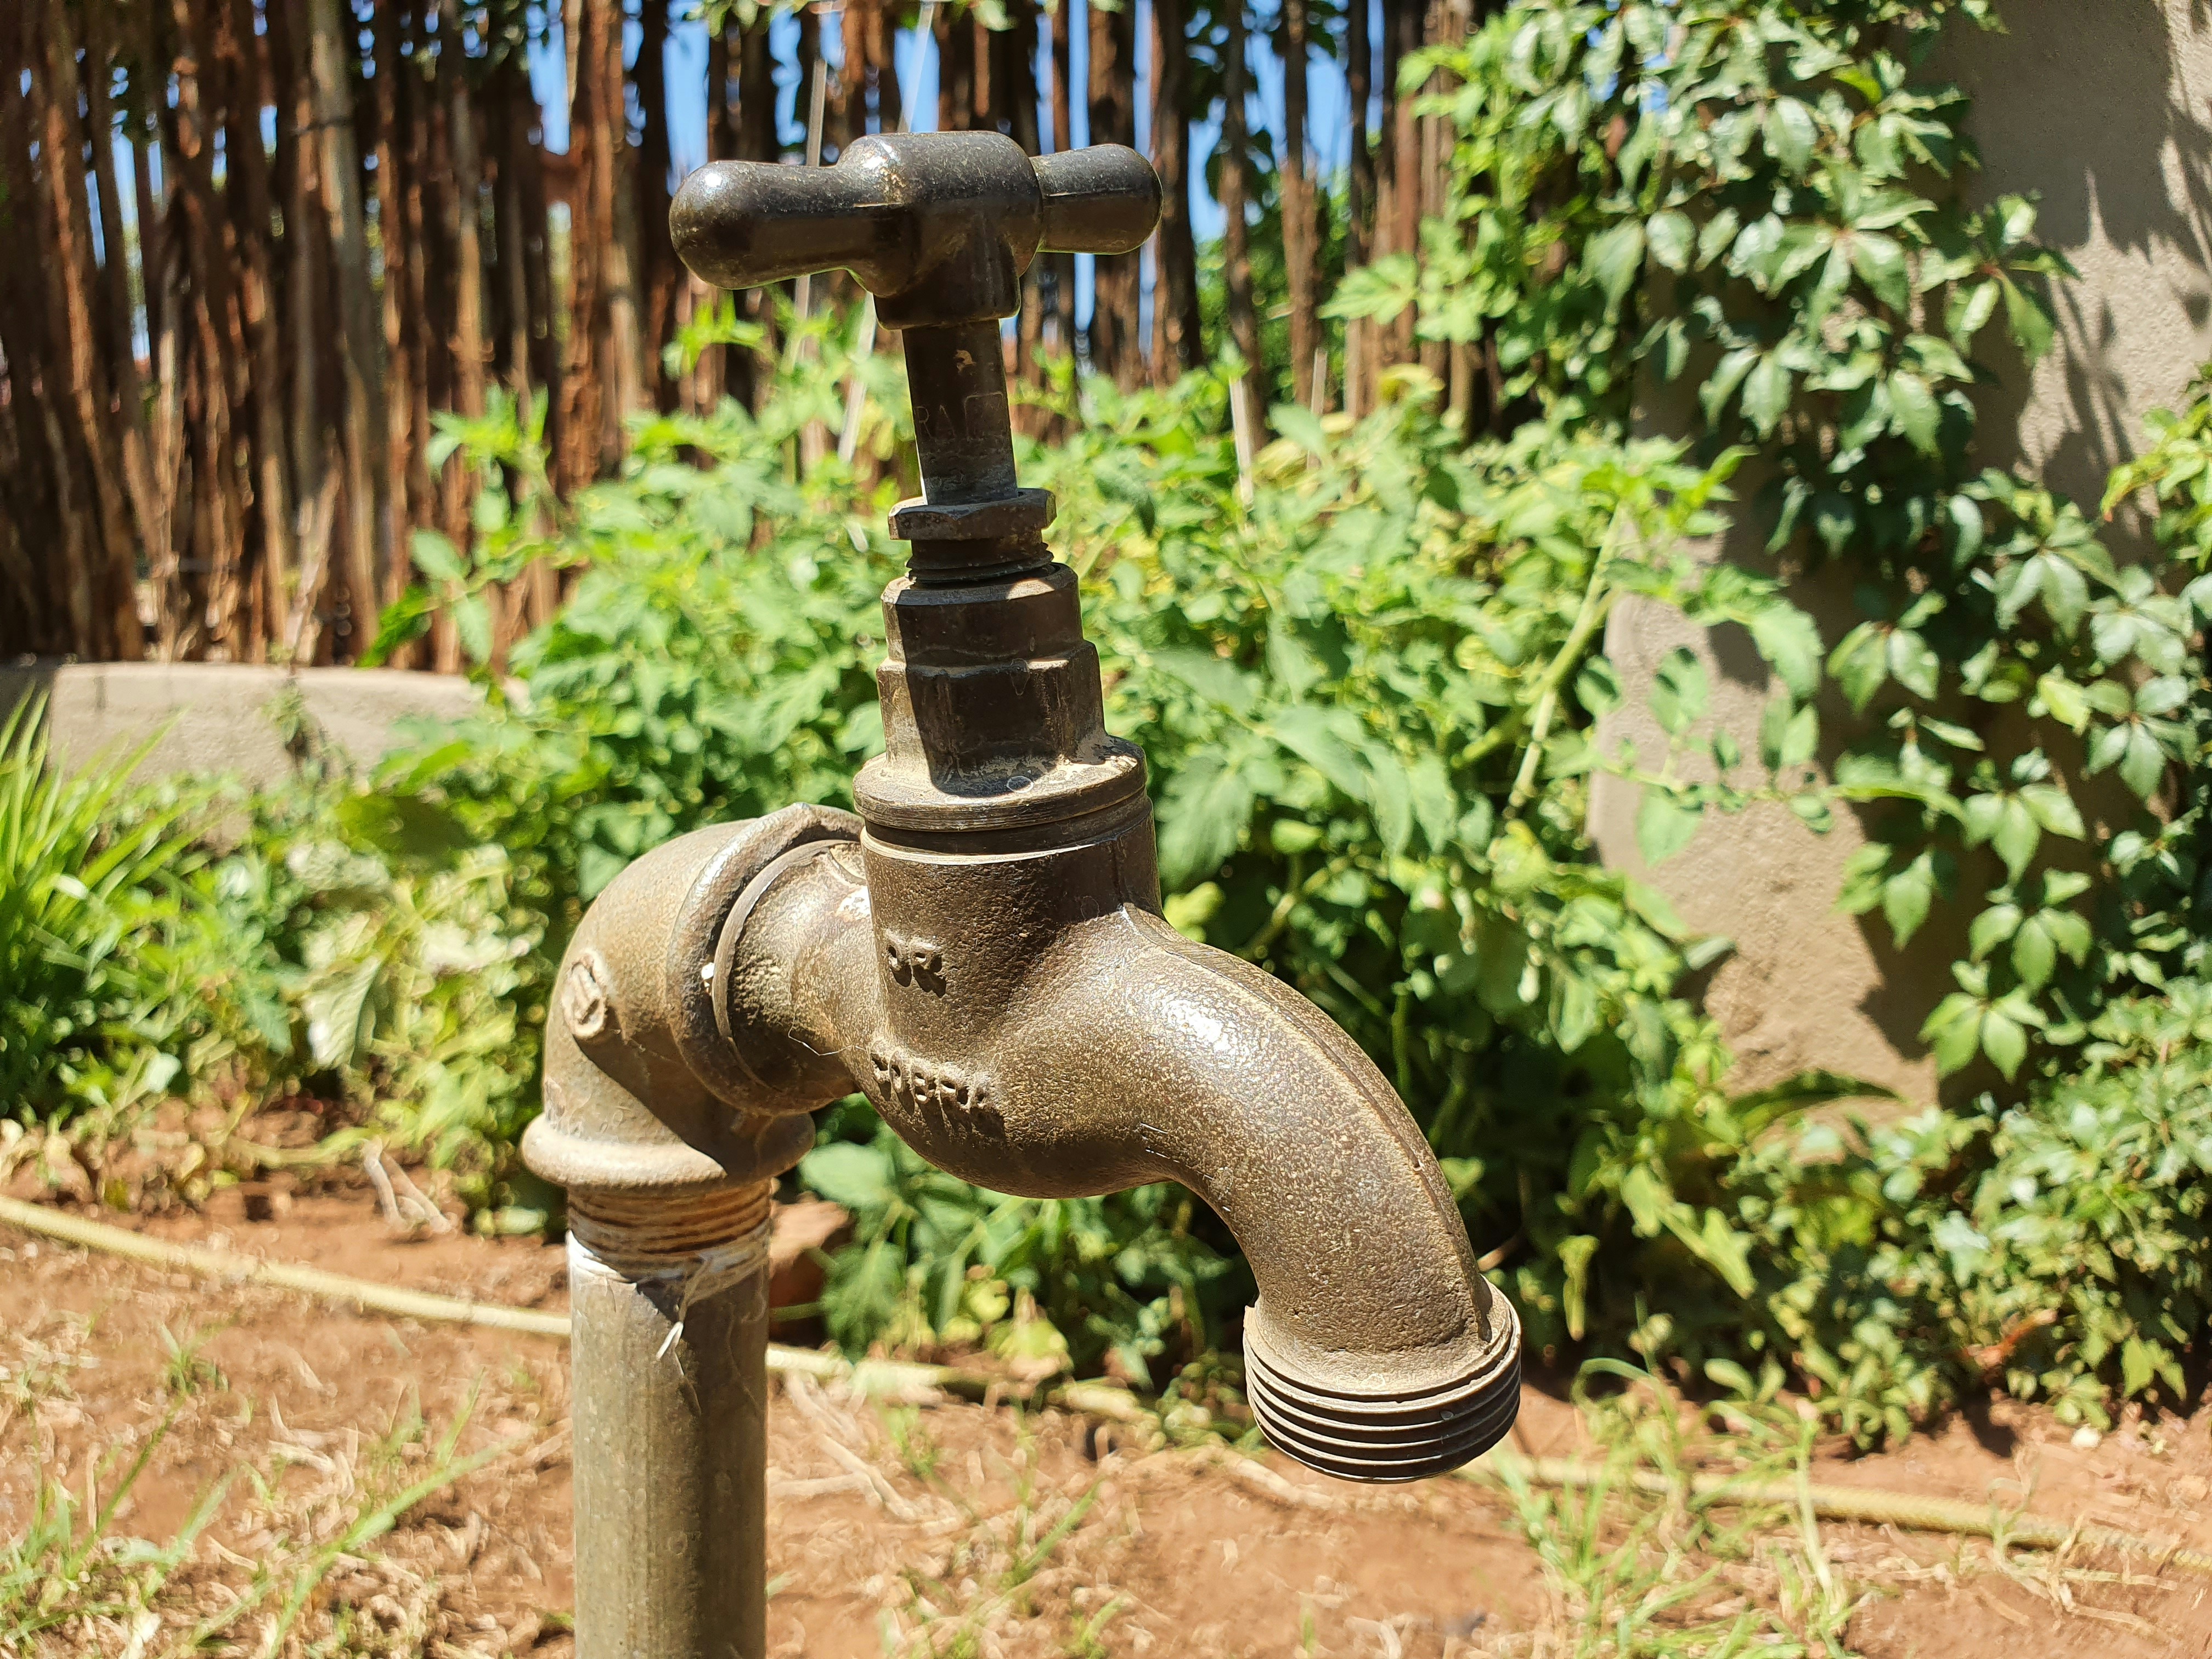
When temperatures drop below freezing in Indianapolis, water left in a garden hose or outdoor faucet can become a serious plumbing risk. As water freezes, it expands. If a hose remains full and connected, ice can restrict the faucet’s outlet and trap water in the fixture or the pipe leading through the exterior wall. Continued freezing can create enough pressure to split a faucet or the pipe behind it, where a leak may go unnoticed inside the wall until the weather warms.
The essential first step before freezing weather is simple: disconnect every garden hose, drain it completely, and store it indoors or in a sheltered location. Do this even if the outdoor faucet is labeled frost-free. A frost-free sillcock is designed to shut off water farther inside the warmer part of the home, allowing the remaining water in its barrel to drain outside. A connected hose can hold water at the outlet and prevent that drainage, leaving the faucet vulnerable despite its design.
Prevention generally costs far less than repairing freeze damage. A basic faucet cover is inexpensive, and disconnecting and storing a hose requires little more than a few minutes. By contrast, a split pipe repair may cost about $350–$850, depending on where the break is located and how difficult it is to access. The damage may not be visible during the cold snap; it can become apparent only after temperatures rise and water starts flowing through the cracked pipe. Homeowners have two main ways to reduce the risk: protect an existing faucet with a low-cost insulated cover, or replace a standard faucet with a frost-free sillcock. In either case, removing the hose remains important. The right choice depends on the faucet’s condition, exposure, and the level of protection desired, but basic winter preparation should begin before the first hard freeze arrives.
For an intact outdoor faucet, a cover or wrap is one of the quickest and least expensive ways to reduce exposure to winter cold. In 2026, a rigid faucet cover or insulator typically costs about $4–$9, while foam faucet wrap is usually around $3–$6. Both options add a layer of insulation around the exposed fixture, and most homeowners can install either without special tools. A cover is a practical preventive measure, not a guarantee that the faucet or connected plumbing will remain trouble-free through every freeze.
Before installing protection, disconnect and remove any garden hose. A hose left attached can hold water and interfere with drainage, increasing the chance of freeze damage. If the faucet has an accessible interior shutoff valve, close it and open the outdoor faucet to drain remaining water from the line. Then follow the product’s installation instructions: position the cover over the faucet or secure the wrap around it as directed. Check that the material fits snugly against the wall and around the fixture, without gaps that allow cold air to circulate. Do not force a cover onto a faucet that it does not fit.
This approach is most appropriate when the faucet is in good condition, the exposed pipe is limited, and the homeowner wants a simple seasonal safeguard. It is less suitable as a stand-alone solution for a leaking faucet, damaged plumbing, or a long, exposed pipe run. Insulation slows heat loss but does not create heat, and it cannot compensate for a line that remains full of water during prolonged severe cold. For vulnerable plumbing, an interior shutoff and proper draining—or a plumber’s assessment of a frost-free faucet upgrade—may be necessary.
Even so, spending roughly $5 on a properly fitted cover or wrap before freezing weather is a modest precaution. A burst pipe can require emergency service, wall repairs, and water-damage cleanup, with costs far exceeding the price of basic protection. Treat the cover as one part of a broader winterization routine: remove hoses, drain the line where possible, inspect the faucet for leaks, and check that the insulation remains secure as temperatures fall.
A frost-free sillcock is designed to keep water from standing in the portion of the faucet most exposed to outdoor temperatures. Its shutoff point is located farther inside the building, where the pipe is less likely to freeze. A standard outdoor faucet typically shuts water off close to the exterior wall, leaving a short section of water-filled pipe vulnerable to freezing. The key distinction is therefore the location and construction of the valve, not simply whether the handle or spout looks different.
One visual clue is a longer body, or shank, extending through the wall. Frost-free models often have a shank roughly 6–12 inches long, though lengths vary with wall thickness and product design. Appearance alone is not proof: some faucets have long bodies without the expected interior shutoff arrangement, and a correctly installed frost-free faucet can be difficult to identify from outdoors. Check the model information where available, inspect the pipe and valve from inside, or ask a plumber to confirm that the shutoff sits on the warm side of the wall. Proper installation also requires the faucet to slope slightly toward the exterior so it can drain.
For 2026, the faucet part is approximately $18–$35, while professional installation commonly ranges from $85–$160. The actual quote can vary with labor rates, access, and the work needed to connect or modify the supply pipe. An advanced DIY replacement may take 2–3 hours, but that estimate assumes the connection is accessible and the homeowner has suitable plumbing skills. A pipe cutter may cost about $18–$28; soldering supplies or push-fit fittings may add roughly $8–$18 per fitting. These are example expenses, not a complete project price: pipe material, required fittings, tools already on hand, and the chosen connection method all affect the total.
Professional installation may be the safer choice if the interior shutoff is inaccessible, the pipe’s condition is uncertain, or the connection is concealed or difficult to reach. It is also worth considering when the homeowner lacks experience cutting, soldering, or joining water-supply lines. Confirming the faucet type and installation details before winter helps ensure that the upgrade provides meaningful freeze protection rather than relying on appearance alone.
Choosing between a faucet cover and a frost-free upgrade depends on the fixture and the plumbing behind it. If the faucet is in good condition, its supply line is mostly inside a heated wall, and an indoor shutoff works, seasonal protection may be sufficient. A cover is useful for an exposed faucet, but it cannot protect a long, water-filled pipe running through an unheated space. If pipes are exposed, the faucet leaks, or no shutoff can isolate the line, ask a plumber whether replacement and additional pipe protection are appropriate. Project experience matters: replacement requires plumbing connections and careful drainage orientation, so unfamiliar work is best left to a professional. A cover costs less now; an upgrade costs more upfront.
Before freezing weather, disconnect garden hoses and drain them. Identify whether the faucet is frost-free; its handle may be outside while the valve seat is set back inside the wall, but appearance alone may not confirm the model. Locate and test any indoor shutoff serving the outdoor line. If your plumbing setup includes a drain point, close the outdoor faucet, shut off the supply, and open that drain to empty the line. Follow the arrangement of your system, and do not force a stiff or corroded valve. Finally, fit a properly sized, insulated cover snugly over any exposed faucet.
A frost-free sillcock upgrade generally involves shutting off and draining the supply, removing the old faucet, and fitting a correctly sized replacement. The sillcock should have a slight outward pitch so water can drain from its barrel when the faucet is closed. The supply connection must be compatible with the existing pipe and materials. After installation, restore the water and check the connection and faucet for leaks. Cutting pipe, soldering, or making push-fit connections calls for suitable tools, knowledge, and careful execution; detailed installation is not a good first plumbing project. If you are unsure about pipe condition, access, sizing, or connection methods, hire a licensed plumber.
A properly fitted cover is the fastest seasonal step, taking about five minutes. A frost-free upgrade typically takes two to three hours and costs more initially, but may repay itself by preventing one substantial pipe repair. Consider access and exposure, then choose the level of protection that fits your home and abilities.
If you’re interested in purchasing the item you seek, please click the link for additional details: #americanachoice.
https://amzn.to/3SBN3Oy
AFFILIATE DISCLOSURE: I am an affiliate for this company, I am not a paid employee.
I may receive a commission if you click a link on this page and choose to purchase something.
You can rest assured I will only share things I believe in and will be valuable to you.