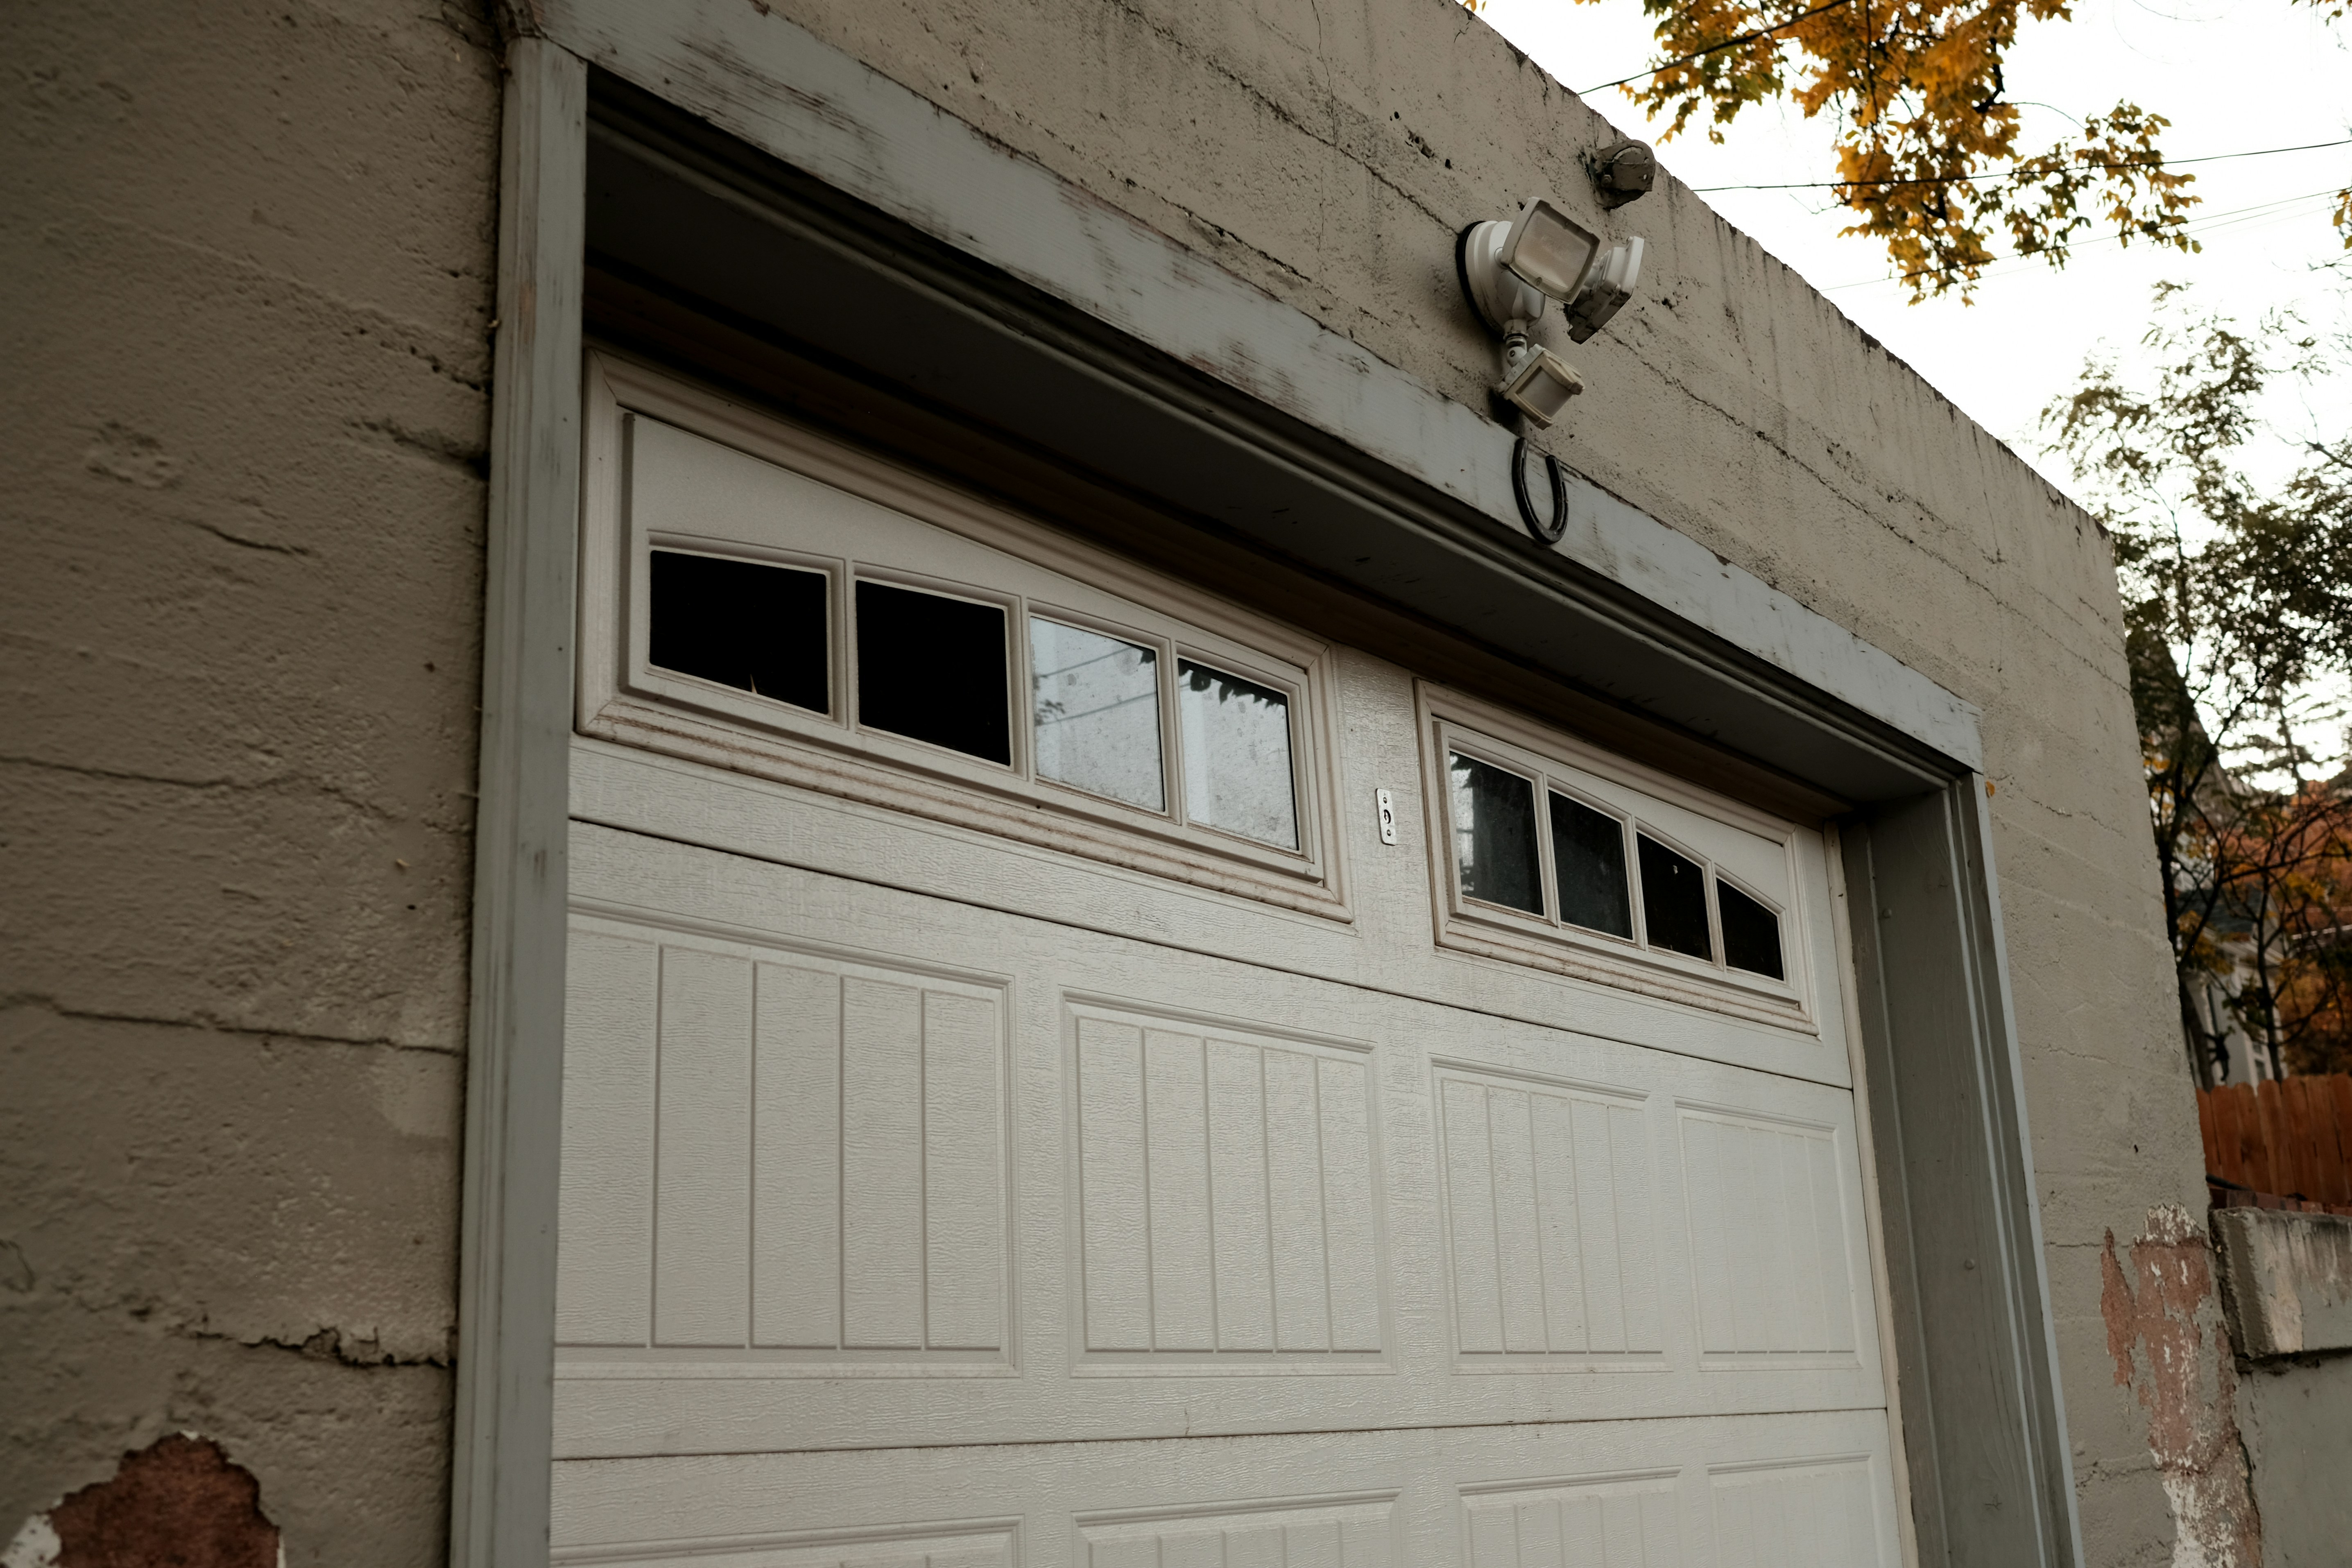
As autumn temperatures fall and rain becomes more frequent, even a narrow opening around a garage door can affect comfort and cleanliness. The bottom edge is especially exposed: an uneven floor, worn weatherstrip, or a door that no longer closes squarely may leave a visible gap. Cold air can flow beneath it, while wind-driven rainwater, leaves, and grit may enter. Small openings can also provide access for mice and insects seeking shelter as conditions cool.
Leaks are not always at the threshold. Gaps along the vertical sides or across the top can let drafts and moisture pass, particularly where the door meets its frame or the perimeter seal has become brittle, compressed, or detached. To locate trouble, inspect the closed door in daylight from inside the garage; visible slivers of light can reveal openings. Move a hand slowly around the edges to feel for moving air, taking care to avoid hinges and other moving parts. Leaves or dust collecting near one edge, water marks, droppings, gnaw marks, or insect activity can signal entry.
For an attached garage, sealing these routes can make the space more comfortable and limit heat transfer into adjoining living areas, especially when the garage shares a wall or sits below rooms. A tighter door may also help keep stored items away from dampness and reduce the amount of outdoor air reaching the home through connecting doors or small building leaks. One supplied estimate suggests that a properly sealed garage could reduce heating load by 8–12%. Treat this as a potential figure, not a promised reduction: actual results vary with climate, the home’s layout, existing insulation, door condition, and heating system. Sealing is one part of an overall efficiency approach, rather than a substitute for addressing insulation or other air leaks.
Choosing a garage door seal starts with identifying where air, moisture, or debris is getting through. The best option depends on the door’s construction, the size and location of the gaps, and the condition of the floor. Before shopping, inspect the full perimeter with the door closed; note whether the problem is along the bottom edge, the sides and top, or at floor level.
For a worn bottom seal, a vinyl T-style replacement is a common choice and typically costs $12–$28 in 2026. Its T-shaped edges slide into a retaining channel or track attached to the door. Measure the door’s width and check the channel’s profile and dimensions before ordering: seals are not universal, and a replacement must fit the existing retainer. Also measure the bottom clearance at several points, since an uneven floor may leave different-sized gaps across the opening.
Side-and-top weatherstrip kits generally cost $18–$38. Choose a kit suited to the frame material and the perimeter gaps, then measure both side edges and the top of the opening. The strips should meet the closed door with light, even contact, rather than bending it or preventing it from closing. For persistent floor-level gaps or water entering beneath the door, consider a threshold seal, usually $22–$45. Its rubber ridge attaches to the floor and can help block drafts and runoff, particularly where the concrete is uneven. Check that the door can still close and that the threshold will not interfere with vehicles or equipment.
A practical decision guide is straightforward: match a bottom seal to the door’s channel and measured clearance; add perimeter weatherstrip when leaks occur at the frame; and consider a floor threshold when a gap or water intrusion persists underneath. Measure twice, including the door width, bottom track or channel, side and top gaps, and bottom clearance, before buying. A full kit combining common sealing components typically costs $35–$85, though the exact price depends on materials and what the package includes.
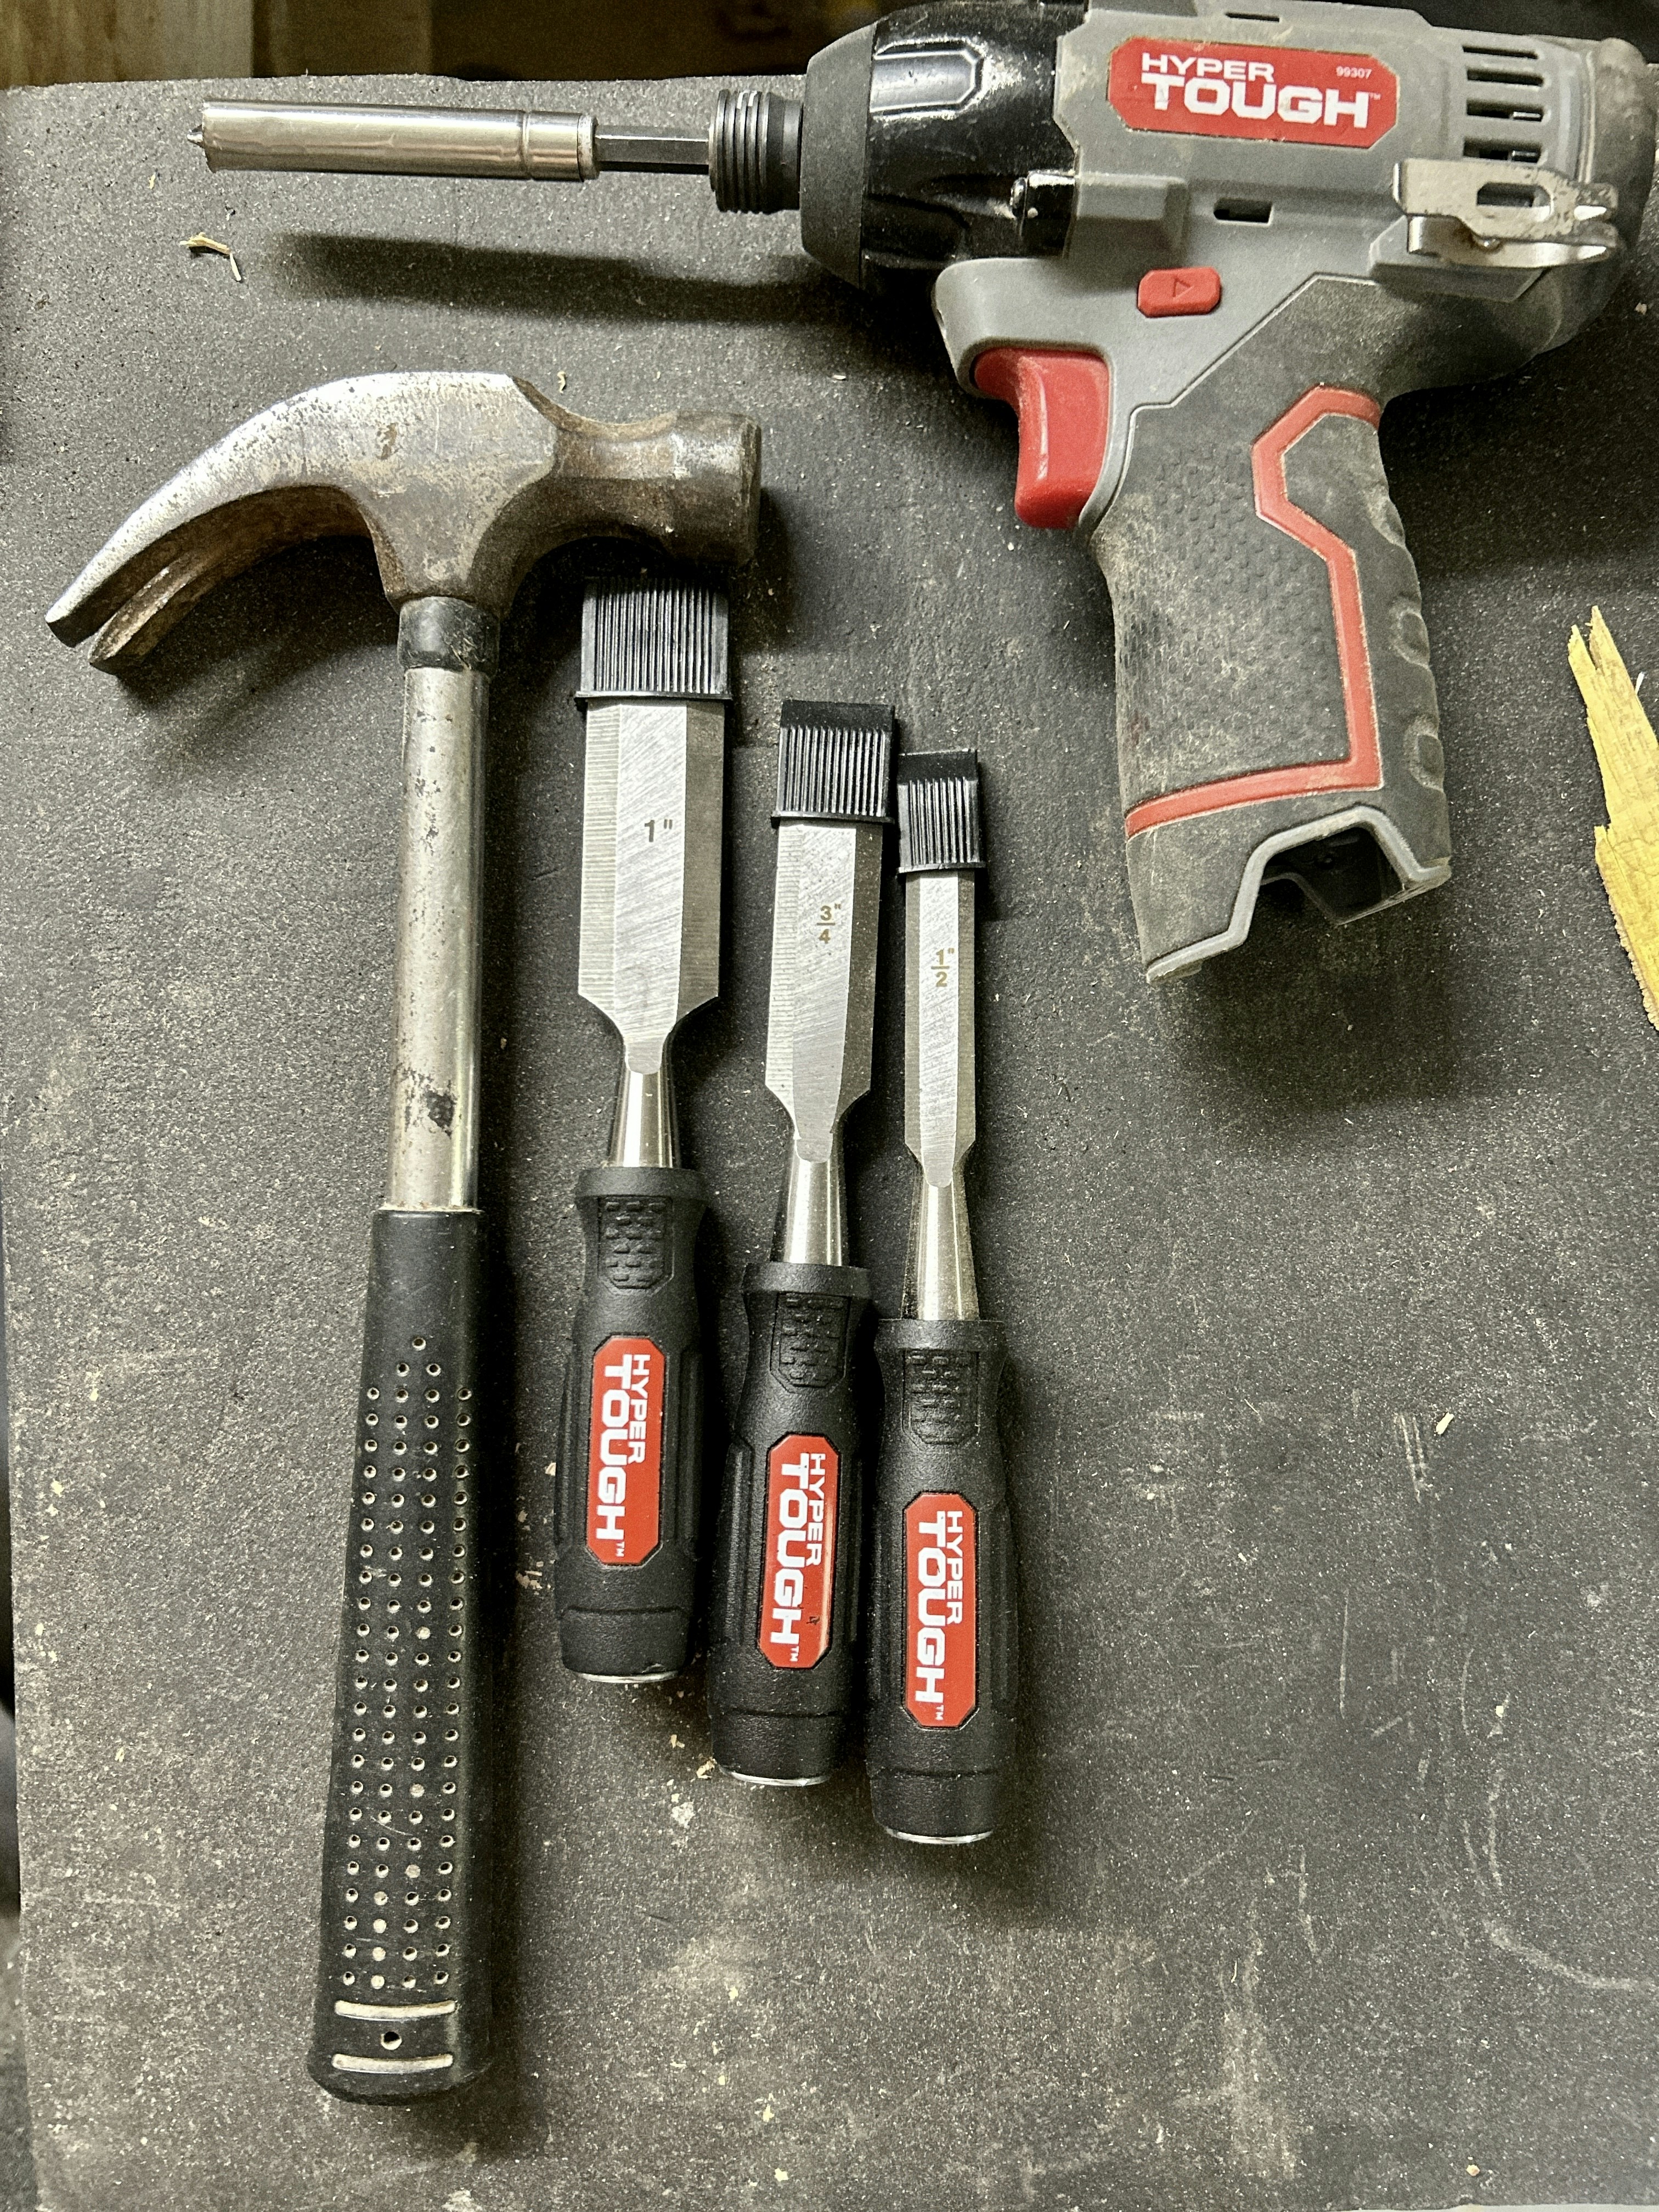
Before starting, check the garage door seal manufacturer’s directions to confirm the replacement fits your door and to follow any product-specific installation steps. Gather a utility knife, typically $8–$14, a screwdriver, scissors, and a measuring tape. Close the door and keep your hands clear of hinges, rollers, tracks, and other moving parts throughout the work. Do not adjust springs or cables as part of this project.
For the bottom seal, make sure the door is fully closed and secure before working along its lower edge. Remove the existing seal if one is present, following the door or seal manufacturer’s guidance. Clean debris from the retainer track so the new material can slide or seat properly. Measure the door’s width, then cut the replacement seal to length with scissors or a utility knife, using a stable cutting surface. Slide or fit the seal into the channel as directed, and trim any excess at the ends for a neat fit.
For side and top weatherstripping, measure each section separately and cut pieces to match. Position each strip so the closed door lightly compresses its flexible edge, helping close gaps without obstructing smooth movement. Attach the material using the supplied hardware and the manufacturer’s instructions. Avoid pulling the strips overly tight or placing fasteners where they could interfere with door components.
If installing a threshold, clean and dry the floor first. Position the threshold so the closed door meets its raised ridge evenly, then attach it according to the product directions. Once everything is installed, operate the door and check that it opens and closes smoothly. If a strip catches, folds, or binds, adjust or reverse its position before using the door normally. The combined project generally takes about 20–45 minutes, depending on the door and how easily old material comes off.
After installing a new garage door seal, close the door and inspect its full perimeter from inside the garage. Look for visible daylight beneath the door and along the sides and top. Move your hand near the edges to feel for drafts, and check that the seal compresses evenly wherever it meets the floor or frame. Inspect corners and joints closely, since small gaps can leave paths for water, insects, and other pests. The seal should make consistent contact, but it must not prevent the door from closing fully or interfere with normal operation. If the door binds, reverses, or sits unevenly, stop and address the fit rather than forcing it closed.
Typical 2026 material costs vary by seal type: a bottom seal runs about $12–$28, a side-and-top kit costs roughly $18–$38, and a threshold is around $22–$45. A complete kit generally ranges from $35–$85. These estimates may not include tools. If you do not already have suitable tools for removing old fasteners, cutting material, or securing the new seal, purchasing them will add to the project total. Compare product dimensions and compatibility with your door before buying; the lowest-priced option may not fit every model or opening.
A properly fitted seal can reduce drafts and limit entry points for moisture and pests, but it is not a substitute for insulating the garage or correcting a misaligned door. If the door has larger gaps because it is out of square, or if the garage walls and ceiling are uninsulated, sealing alone will not resolve those issues. Make seal checks part of each fall’s maintenance. Look for cracks, flattened or brittle sections, loose fasteners, and gaps where the material no longer touches the floor or frame. Tighten or adjust loose sections, and replace worn pieces when adjustment cannot restore consistent contact. Regular checks help keep the barrier effective through changing weather.
If you’re interested in purchasing the item you seek, please click the link for additional details: #americanachoice.
https://amzn.to/3SBN3Oy
AFFILIATE DISCLOSURE: I am an affiliate for this company, I am not a paid employee.
I may receive a commission if you click a link on this page and choose to purchase something.
You can rest assured I will only share things I believe in and will be valuable to you.